BMW M5 Forum and M6 Forums banner

Windshield Rubber Seal Replacement

85K views 82 replies 50 participants last post by  thekurgan  
#1 · (Edited)
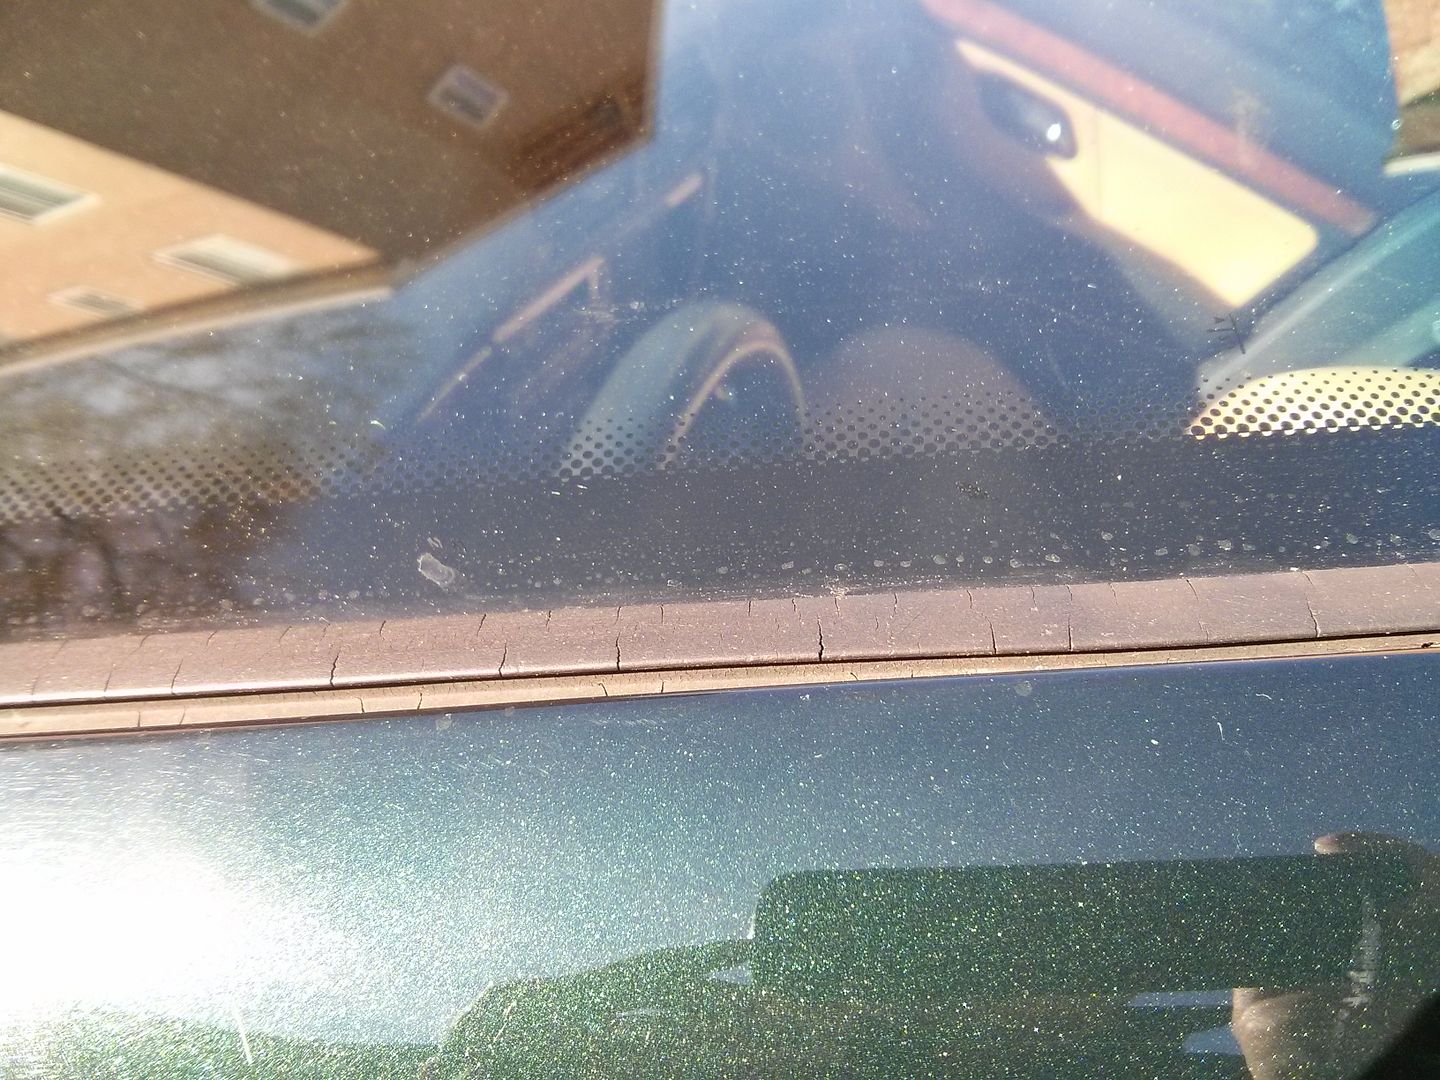
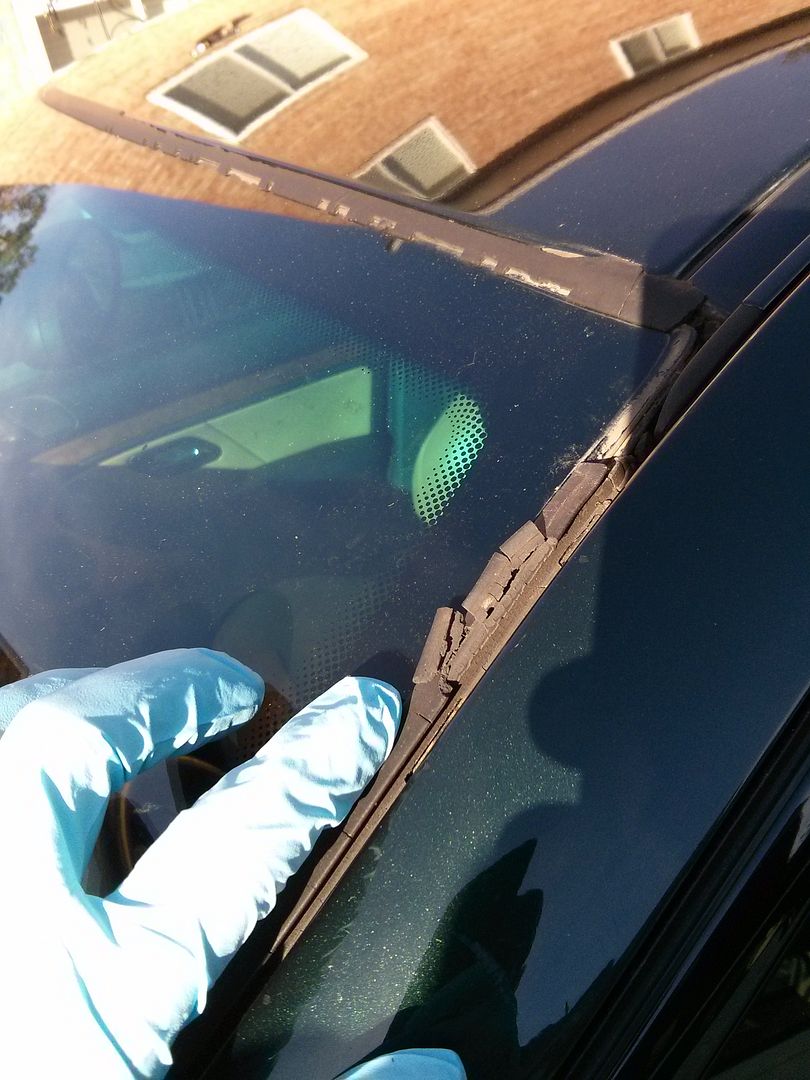
Symptoms - Cracked and chipped windshield rubber seal. For a June 2007 build, the rubber has held up pretty good up until the last few months. It has started to fall apart with the slightest touch (washing the car, etc). From what I've read this is not a weather / rain seal, just a trim part.

Not much discussion on the M5 board, but I did find a big write up on another BMW board; some getting BMWNA involved, some DIY'ers. I decided to give it a shot myself. My local dealer had the part in stock

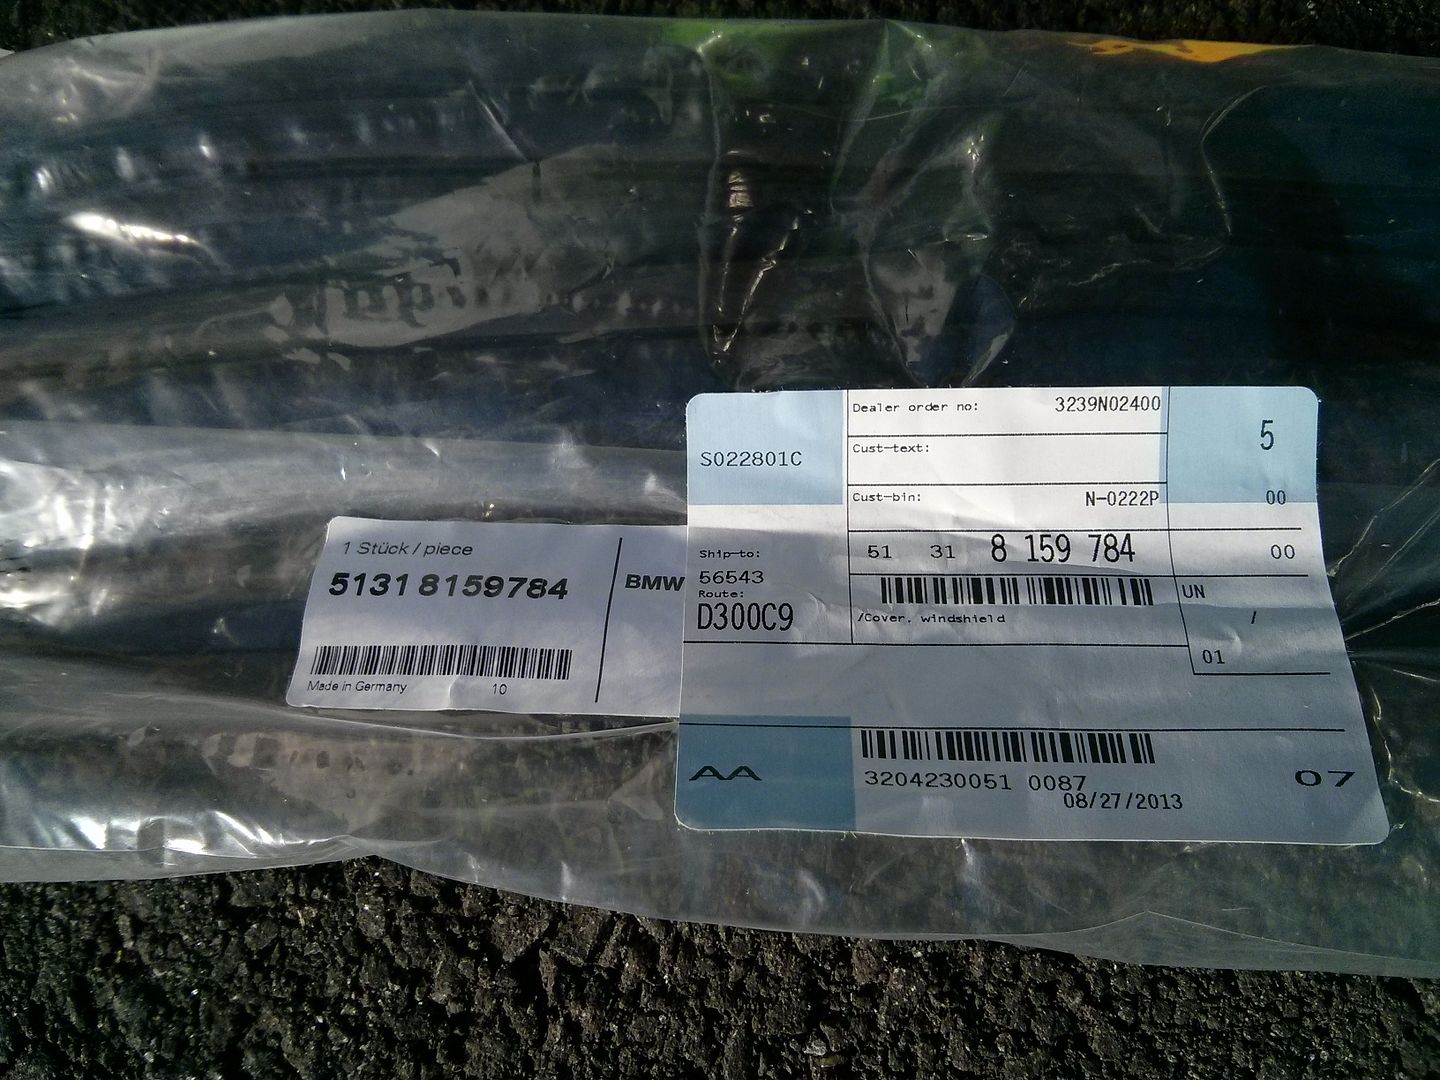
51 31 8 159 784

Only $31.26 including tax and he had it in stock. I picked it up yesterday and nervously started last night. First step is removing the old rubber. I used a plastic butter-knife type tool and a Stanley pick tool with a hook on the end. Just pried the passenger side top corner up with the plastic tool and got the hook down in the rubber and worked it up. Suprising how deep the rubber goes down in there. Once you get it started, pulling the whole molding out is a snap, it just pulls out all the way around the windshield. It did leave behind a black, gummy residue in the channel that cleaned up with some WD-40 and several Scott's heavy duty throw away rags.

Once the area was all cleaned up it was time to get the new rubber in. I did think I was a little in over my head because the molding looks like it doesn't want to fit in the opening. But I just got it lined up and it pressed in place with thumb pressure. I was really suprised but it snapped into place without much hassle at all. I did the top all the way across then the sides. Pressed it all in place, ran some Gummi-Pflege on it and let it sit overnight.

Cleaned everything off this morning, made sure everything was still in place and it was. Overall the job took about a half hour.

When the rubber started craking I thought I was in for a huge bill or life with a cracked windshield rubber gasket. But this is definately a DIY job. It really improves the appearance of the car and gives it a little "newness".

Pictures to follow...
 
#59 ·
Am I the only one who used a rubber mallet (both times) to get the top piece seated?
 
#60 ·
I changed mine today, and yes super easy and it only took about 20-30 minutes. On a side note scrubbing bubbles works great for cleaning up the urethane sealant.:applause:

Thank you again.
 
#61 · (Edited)
I need to do this before winter rolls in. My molding is in terrible shape after 13 years. I've been quoted hundreds of dollars, and I think you guys gave me the confidence to do it myself. I thought the entire windshield would have to be removed, when in fact just the molding!

Is the rubber buffer necessary? (Pn: 51311925433)
 
#62 ·
The two times ive done this, ive never had to use that part (51311925433), so I would say no. I dont even recognize that part actually.
 
#63 · (Edited)
No the rubber buffer is not needed.

I have done thison about 10-15 e39's so far. It take longer to clean out the channels then it does to actually install the stripping. Just make sure you use plenty of soapy water and start on one corner. If you are having trouble getting the corner started, you can actually push the roof rails back and front to give you more room. (And by roof rails I mean the plastic inserts that span the roof from front to back on both sides.)
 
#66 · (Edited)
No the rubber buffer is not needed.

I have done this about 10-15 e39's so far. It take longer to clean out the channels then it does to actually install the stripping. Just make sure you use plenty of soapy water and start on one corner. If you are having trouble getting the corner started, you can actually push the roof rails back and front to give you more room. My rood rails I mean the plastic inserts that spans the roof from front to back on both sides.
Perfect thanks for clarification. Ordering my new windshield molding this afternoon. Will be a small DIY when I am off work on the 11th for Veterans Day.

FYI: Tischer has part for $34.25
 
#64 ·
The first time I did this, I started on the corners, but the bottoms on each side didnt line up 100% where the curves are present. The second time, I decided to start at the bottom, seating the curvy parts in first, then working my way to the top corners and it seated perfect.

I could have done something wrong the first time around, but I had a much easier time starting from the bottom and working up. But each method works.

Like said above, use plenty of soapy water as it will make life much easier. I also used a rubber mallet to gently tap in the seals to ensure a tight fit as I went along.
 
#65 ·
Don't worry about this project. It seriously took me half an hour at most. Once you are able to pry out one of the bottom edges, it just pulls right out. Then I vacuumed + cleaned the channel with some soapy water, towel, and a chopstick/plastic knife and pressed the new one in.
 
#67 · (Edited)
Just a follow up because I had time to actually do this to my beast. Also, Happy Veterans Day! Thanks to all who serve.

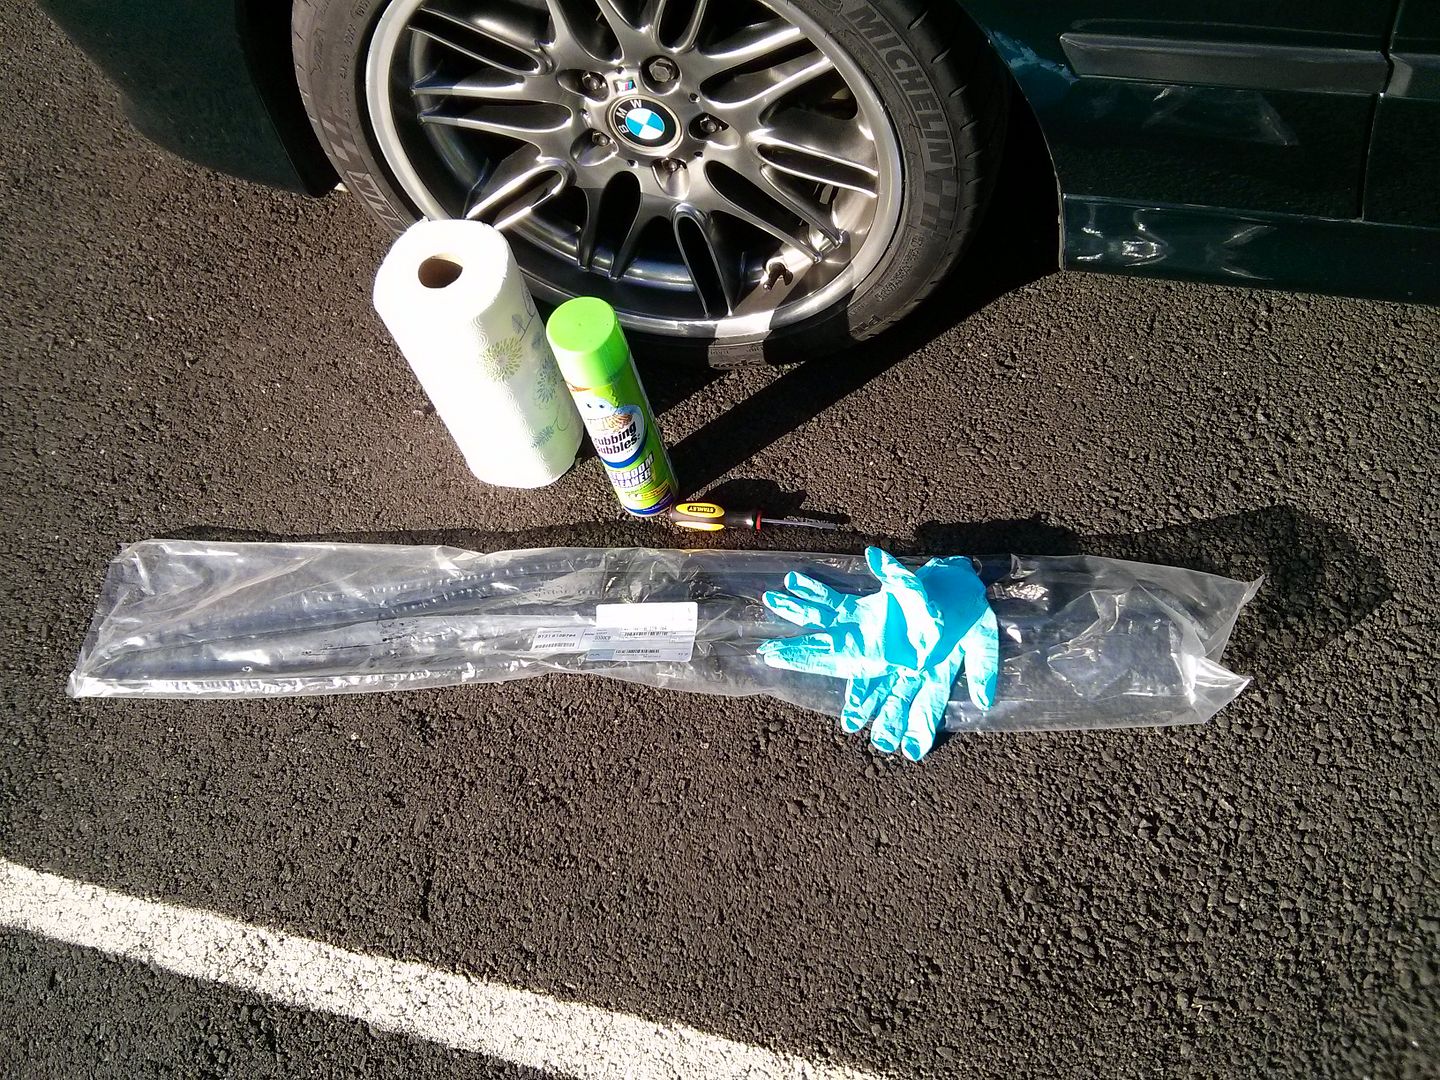
Tools and Parts:
Flat head screwdriver
Scrubbing Bubbles (thanks to AGM5)
Paper Towels
Windshield Molding (PN:51 31 8 159 784)
Rubber Gloves (adhesive gets pretty sticky when removing the old molding)

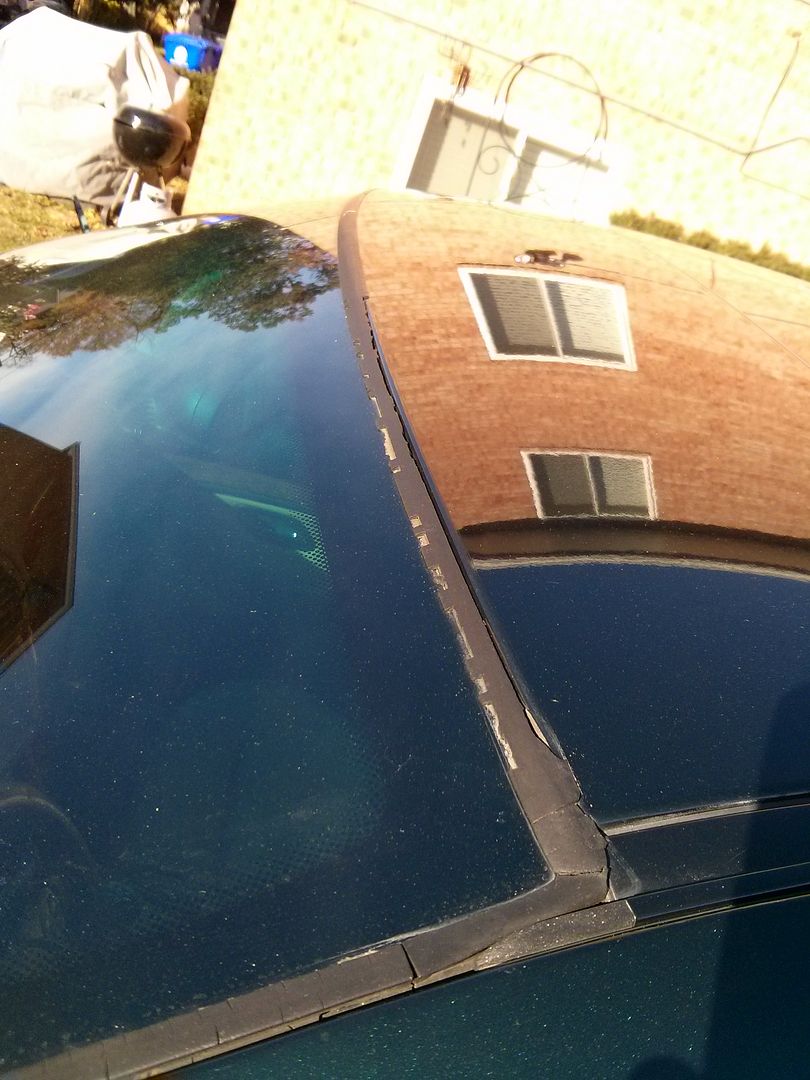
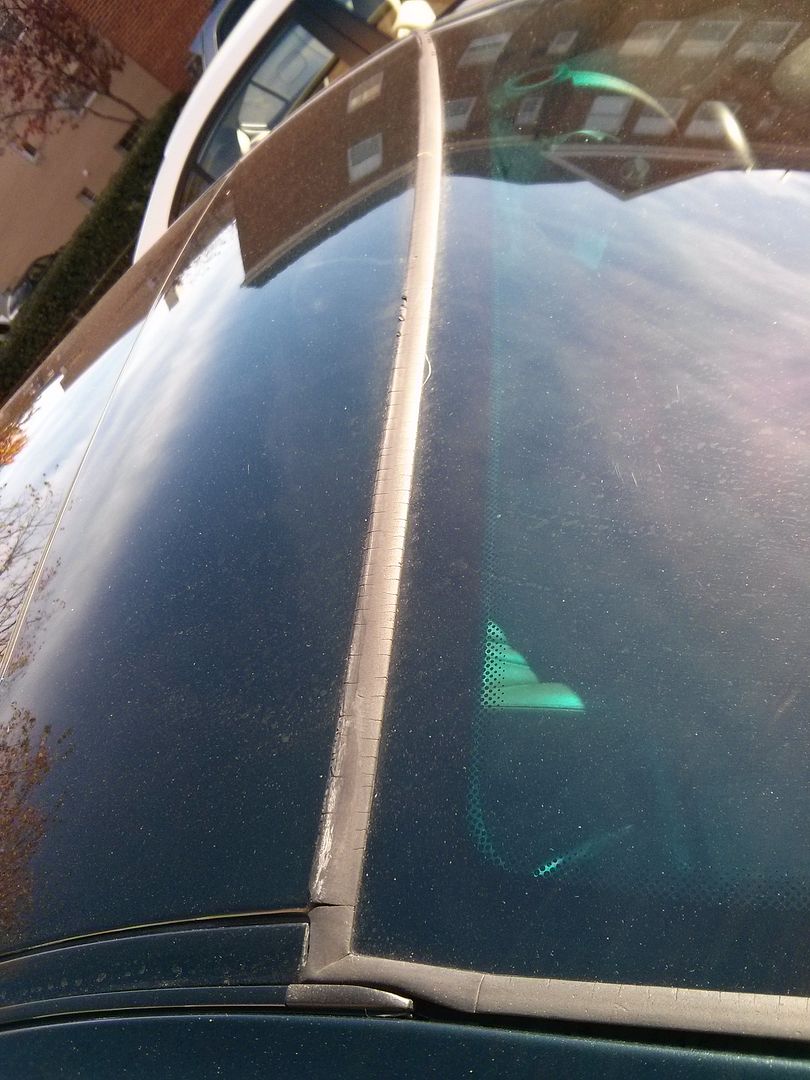
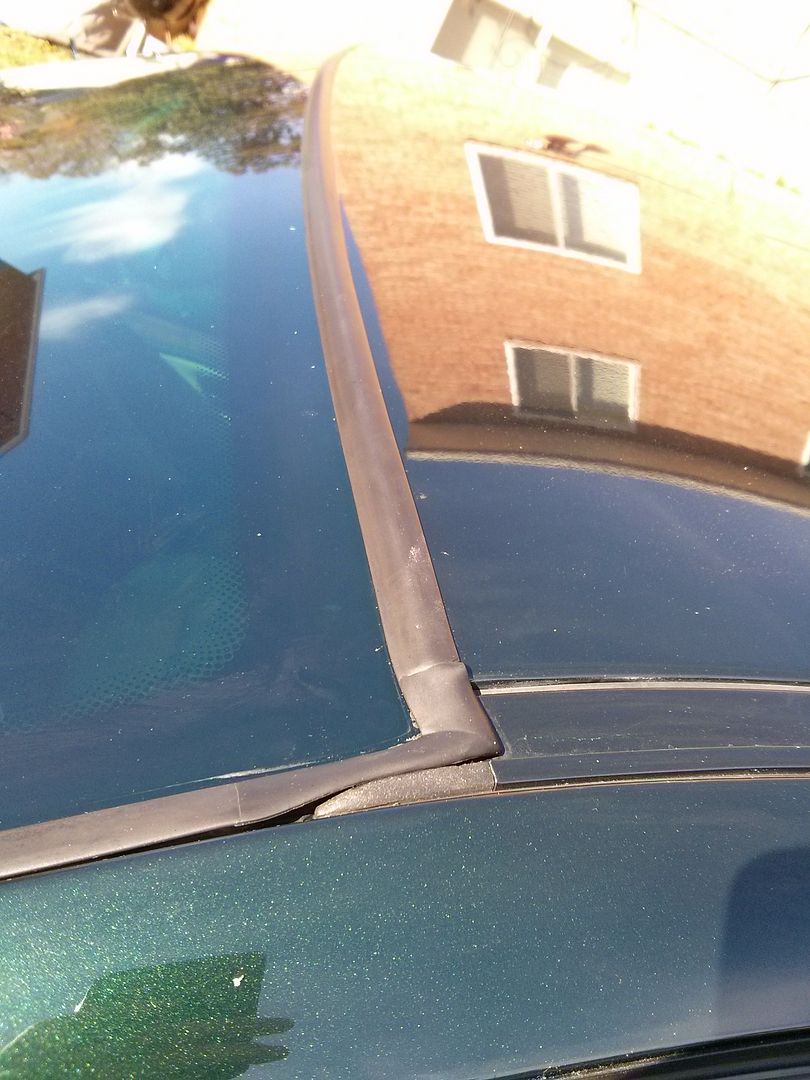
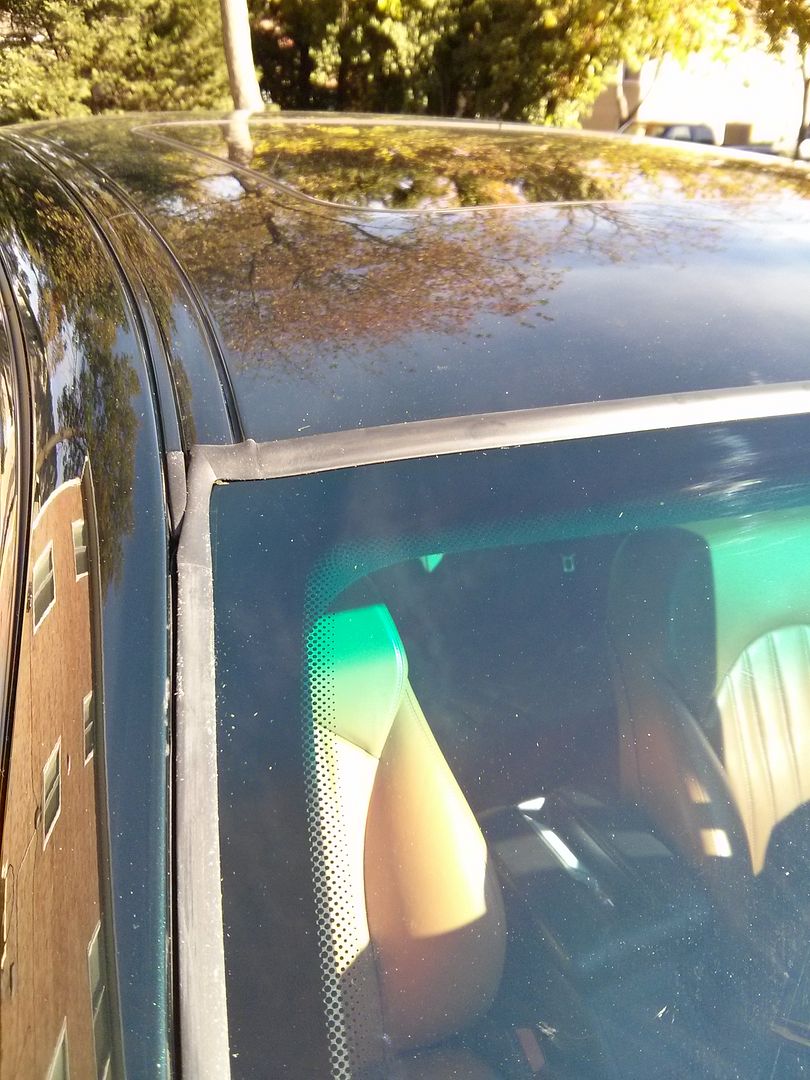
My molding was starting to brittle on the sides, but the worst was along the top:


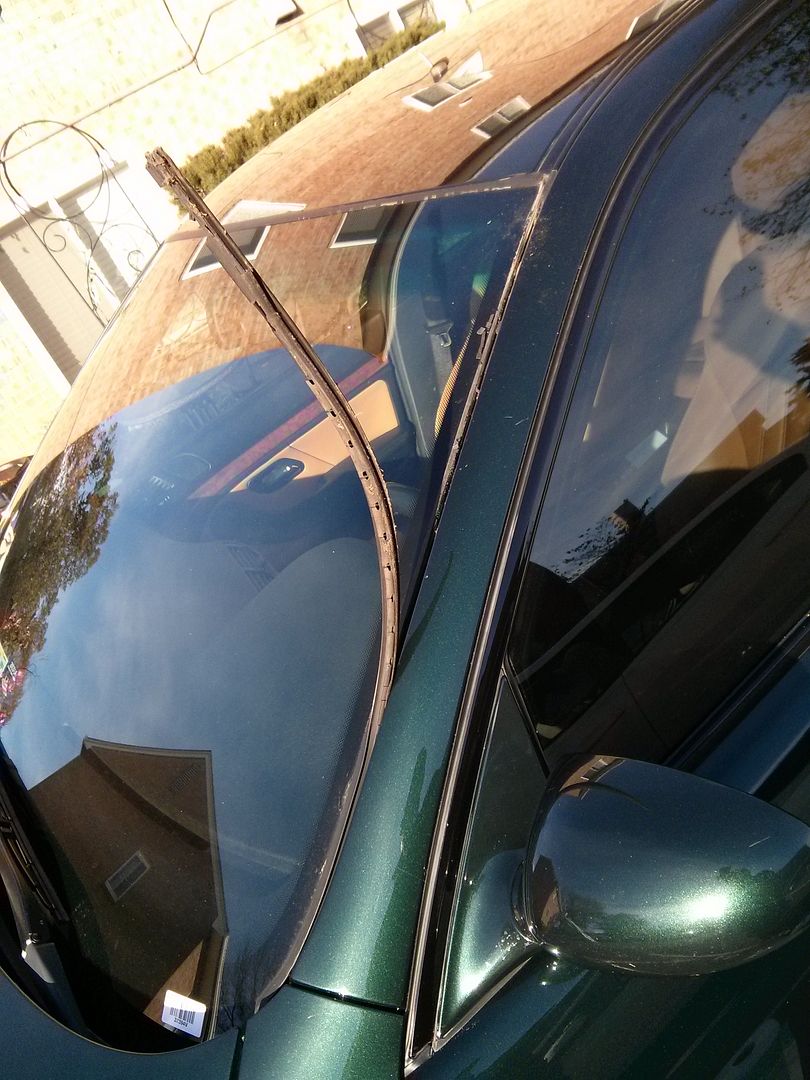
Removal:


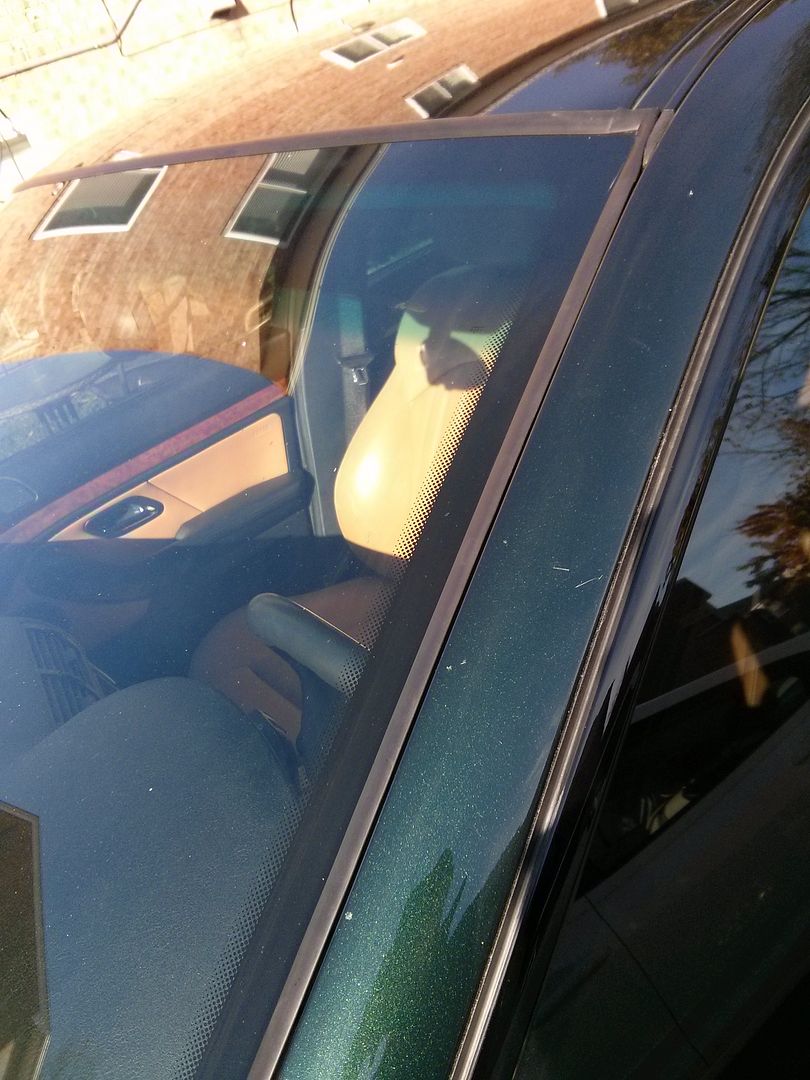
New seal on:


Hope it helps others.
 
  • Like
Reactions: MasaK and AGM5
#68 ·
Happy Armistice Day to you as well.
 
#69 ·
Thanks for this thread. And man did RealOEM make it difficult to find part #. Rear windshield molding is original, needs replacing.
 
#71 ·
Saw on an earlier post (#46) regarding doing this on a windshield that has been replaced. If you take the old weather stripping out and you see A LOT of sealant in the channels. Just stop. Take the car to a windshield shop. let them pull the window and re-install with with the weather strip. Probably cost you $100.

I spent the better part of today digging that sealant out from under the windshield so that that the weather strip would insert. I ruin my first weather strip trying to figure out WTF was going on (also because I used silicone lube that mixed with the pre-applied sealant of the weather stripping that just made a mess. Dont use this. just use the soapy water). Luckily (well sort of), I had a second weather strip that had been given to me and started on that with the soapy water. The job ended up looking like Sh** because I started to try to install the second one, then pulled it back off, once I figured out something was just not right. Dug out all of the crap under the window, tried to re-install. Too much of the goo lost on it and wont adhere right. So I will order a THIRD weather strip. I'll try putting this on... maybe, or I might just have the window reset. What a waste of a day...... A simple job turned into a major fail..
 
#73 ·
This will get you all of the front as well as all of the rear glass trim parts:

I ordered from Tischer BMW ( BMW Parts and Accessories at GetBMWparts.com )
51718193202 body hardware, cowl, cowl grille extension Right QTY 1 $6.02
51718193201 body hardware, cowl, cowl grille extension Left QTY 1 $6.02
51718159292 body hardware, cowl, cowl grille QTY 1 $60.89
51318159786 body hardware, back glass, reveal moldings, lower molding w/o anti theft QTY 1 $22.04
51318159785 body hardware, back glass, reveal moldings, upper molding w/o anti theft QTY 1 $32.90
51318159784 body hardware, windshield, glass, reveal molding QTY 1 $32.90
 
#77 ·
Yes, it can stay in. The only time you may want to consider having the window removed is if it has been replaced at some point. And even then, the only real problem is if the installer went crazy with the window sealant. If you remove the window trim and you see that the old trim had been embedded by the sealant, you can do as I did and spend a whole day digging it out. Or, for a few bucks, you can have the window removed and reset. If I were to do it again, knowing what I know now, this is what I would do.

However, if it is stock, like my rear window, it is a snap. Just pull the old rubber out, clean up any residual goo and dirt, and then just pop the new seal in. Very, very easy.
 
#78 · (Edited)
However, if it is stock, like my rear window, it is a snap. Just pull the old rubber out, clean up any residual goo and dirt, and then just pop the new seal in. Very, very easy.
Really good to know. My front windshield has been replaced, and its the rear that needs the molding redone.

Can anyone else second the fact that original molding is pretty easy to replace? (besides you Jon, thanks for the earlier post)
 
#79 ·
Finally got around to this and it was cake! My old trim came out beautifully with very little residue at all. The top was harder to remove than the sides.

Overall took longer to wash the car afterwards than to replace the trim. The bottom piece was almost absurdly easy.

Thanks for the info here and thanks Jon for the tips and encouragement. Also took care of a DICE issue on the M5. Now time to swap cars and get to work on some M3 projects... the life of an old school enthusiast.
 

Attachments

#80 · (Edited)
Got around to doing both sides which were really cracked and brittle. The time consuming part was using goo gone to remove all the sticky residue and the car wash afterwards. Next thing to do now is the aging, cracked and brittle window cowel.

Image
 
#81 ·
Just finished the rear 2 pieces due to cracking/crumbling - luckily the previous owner had a shop do the front 3 parts (not bottom). I will tackle the front bottom someday, which is a bit harder it seems. I also did the left and right cowls on the front, and also the eyelids of the headlights. Even for someone as non-wrenching as myself (though I have grand aspirations) this was pretty easy. It crumbled to the touch - that San Francisco heat must have been killing the trim - it came out fairly easily except for one side piece of the rear - which took probably 10 mins longer than the others (about 1 min each). As others mentioned the cleaning up of the goo is probably the hardest part - at about 12 mins. These 6 total pieces took me about 45 mins total. Thanks to all previous contributors.
 
#82 ·
Did mine yesterday. Was not as easy as I thought.
Spent a lot of time pushing it in the gap. Thumb thrust did not help really. Had to push really hard. Silicone spray did not help much.
 
#83 ·
Windex works much better than silicone.