OK Aldi, here we go.
I will try to write this in plain English because i know this isn't your first language, so excuse me if it sounds as if i am talking to you like a child, i'm not. I just don't want to confuse you or whoever may be installing the vanos for you.
Also others may read this and say "hey you know what, you don't need to do that step" and they are probably right, but i have included everything as if i am talking to a beginner, so there are principles to help you understand what and why we are doing things.
Finally i am showing the work done on bank 1, but the same principal applies to bank 2
So. At this point you need a machined 27mm spanner as the TIS says.
You will need 4 8mm diameter pins, or drill bits, or even M8 bolts to lock the cams
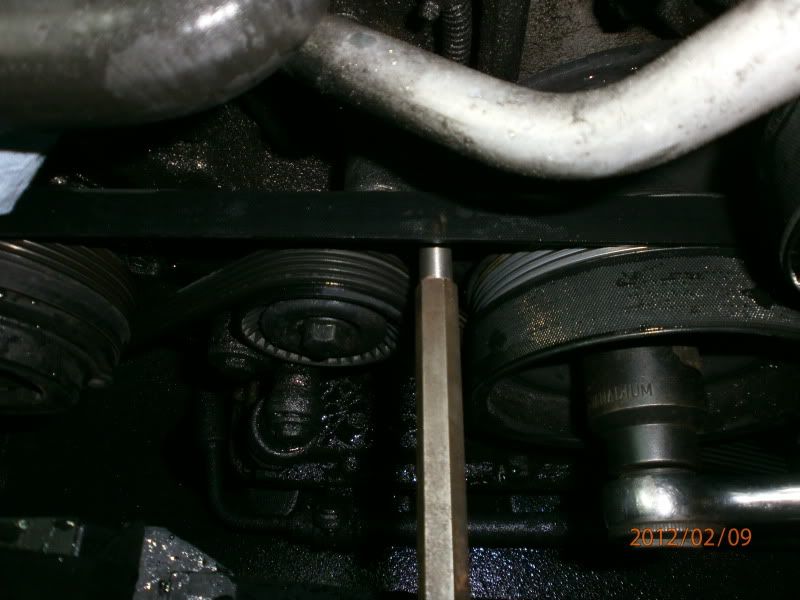
And you will need an 8.5mm drill bit with some electrical tape around it to lock the crank, or make a crank lock pin as i have. The drill is the easiest solution if you cannot get one made, its no problem.
OK
So you engine is in, but your vanos is off the car. If they are still attached, you need to remove the solenoid boards from the vanos units, so we can move the vanos around easily and so we don't need the special tools you asked about.
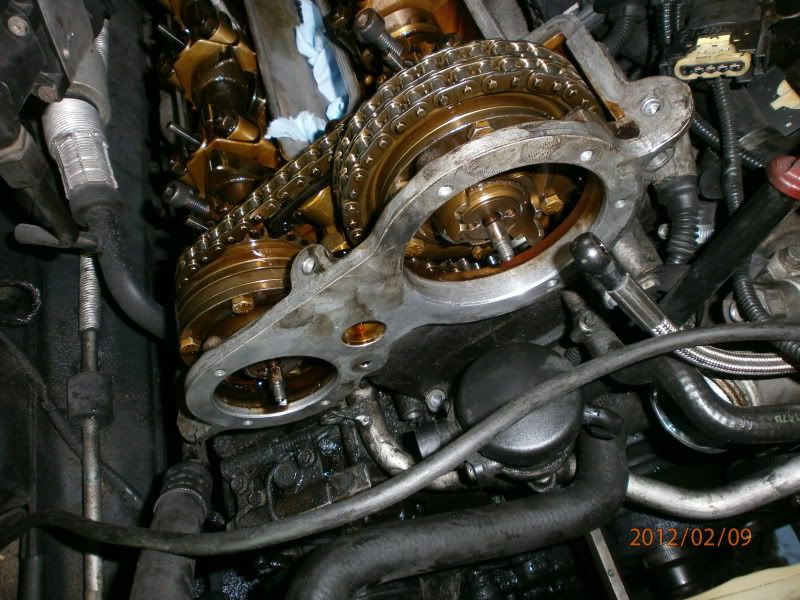
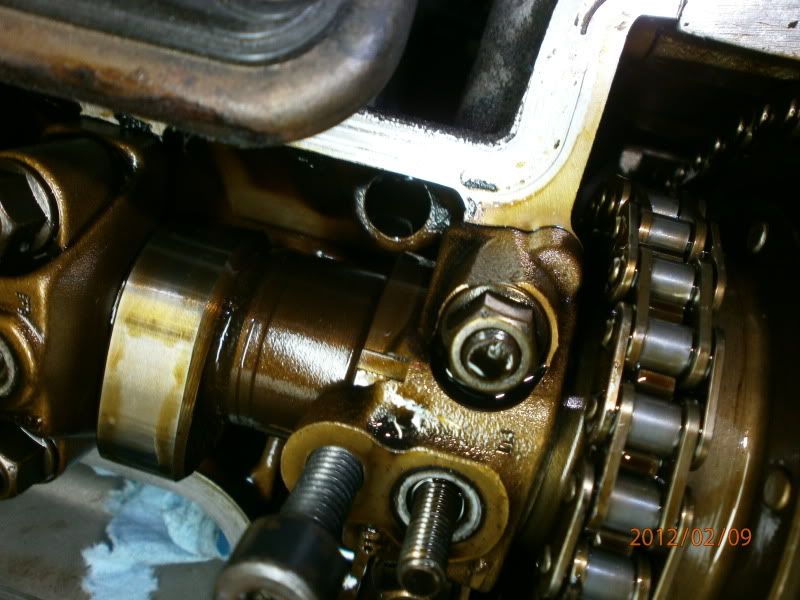
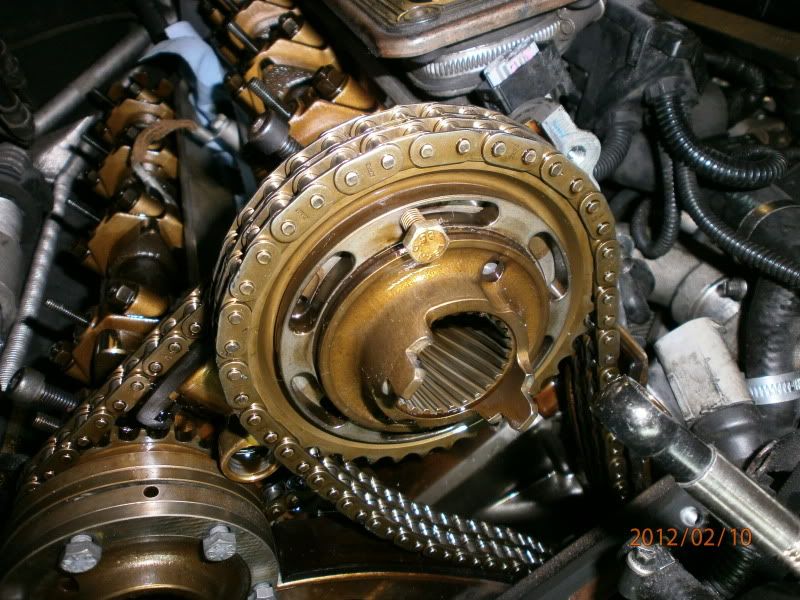
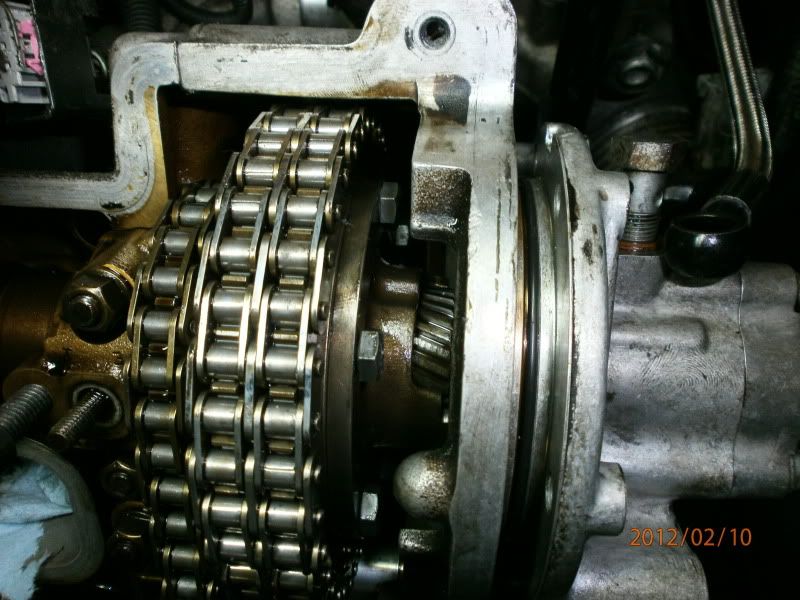
Now, your engine should look something like this, except your helical gears are attached to the vanos unit. Don't worry.
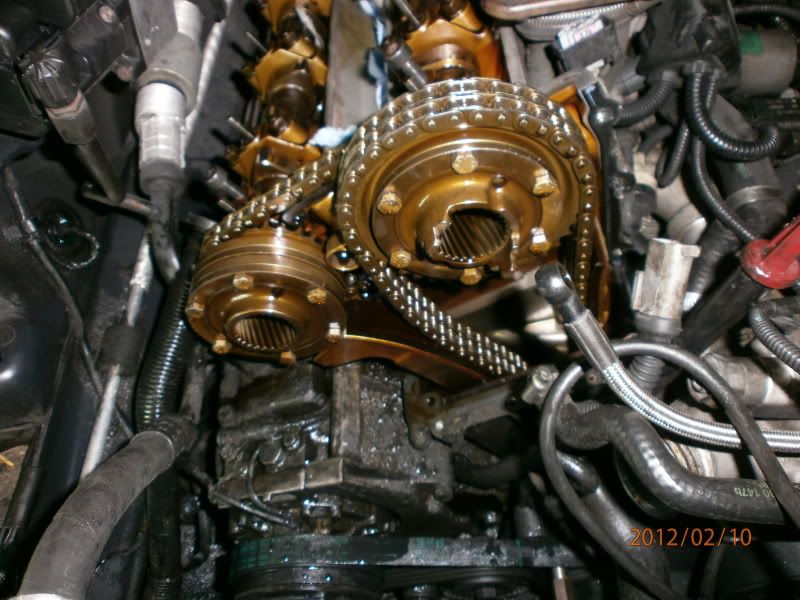
OK, the bolts you need to make sure are loose are the 6 bolts around each of the outer helical gears you can see on the above picture. Here is a better view of the bolts just to show you
you need to do this in a particular order, so follow.
You need to turn the engine over clockwise until the engine is in number 1 cylinder firing position first.
You will know this because when you insert the crank lock pin
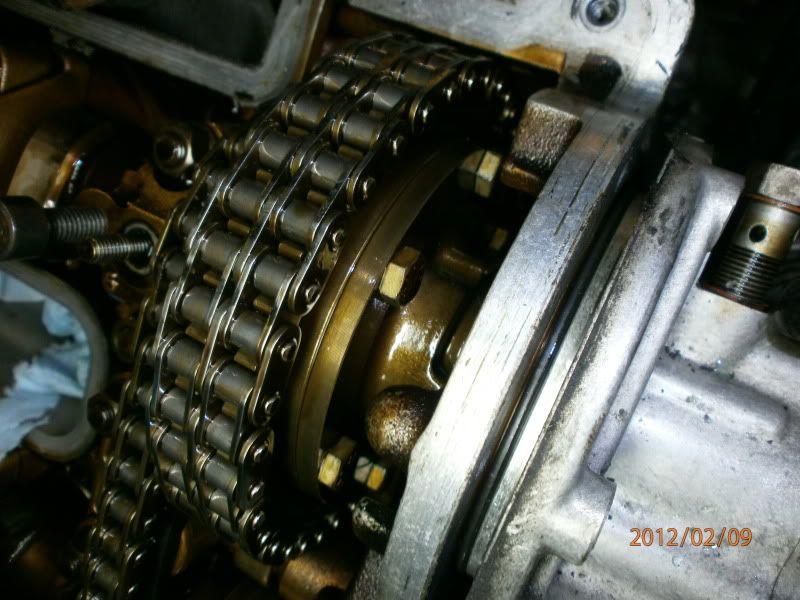
and your cam locking pins or bolts too, then your timing mark should line up in the groove on the first bearing cap.
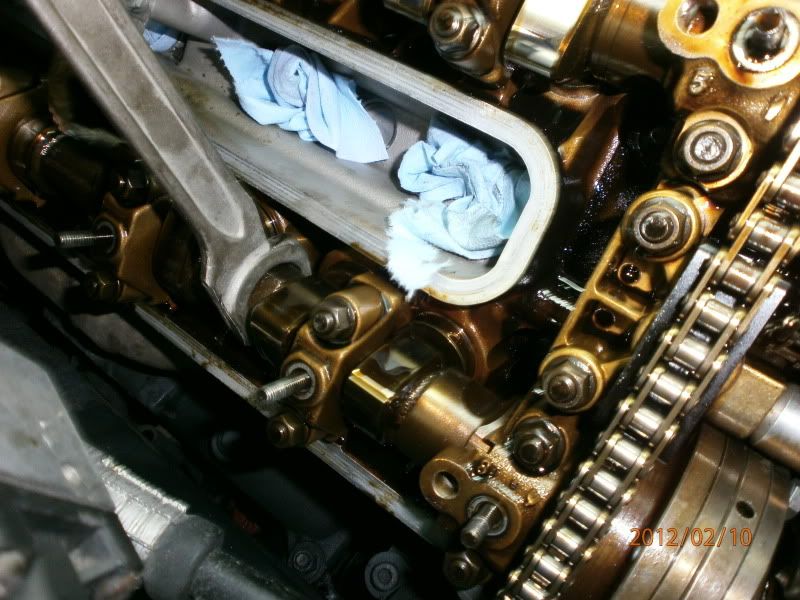
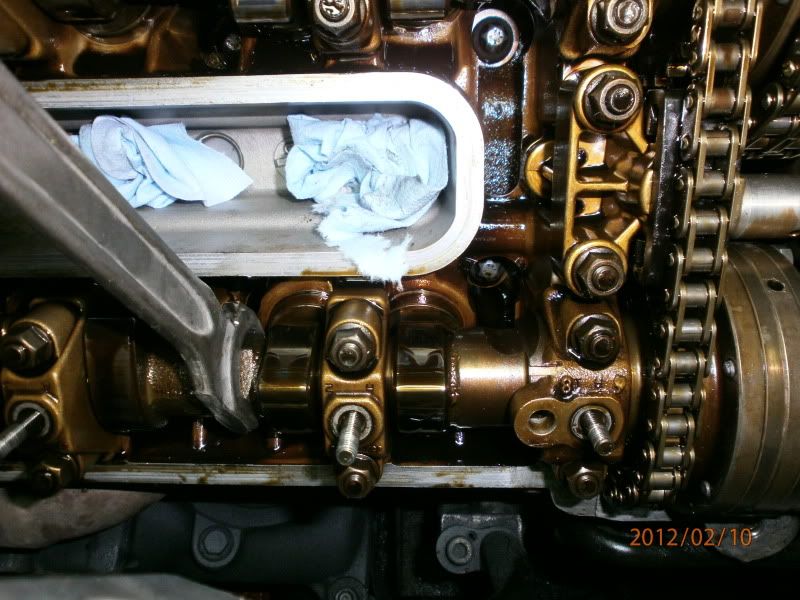
When you insert your crank pin, you may not be able to insert your cam lock pins straight away, because your vanos is out of the car. Don't worry, you should use your 27mm spanner on the cam to turn the cam to the position where you can insert your cam pins and the timing mark lines up in the groove. For an idea of when you are on the firing stroke and not the overlap stroke if you cannot see the timing mark straight away, is when both valves are closed, and the cam lobes are pointing directly away from the valves, you can see this in the picture.
.
OK, now take all of your locking pins out.
Rotate the engine 1 full revolution clockwise so now cylinder 1 is in valve overlap position and insert your crank pin.
You can't insert any cam pins here because the engine is in overlap position, also because the engine is in overlap position you will not have any timing mark on the cam to line up with the groove on the bearing cap, this is normal.
Now remember the 6 bolts we talked about on each of the helical gears? You should be able to see 3 bolts on each of the cams. You want to loosen these off maybe 3 turns each
OK. now take your pins out again, and turn the engine over 1 complete revolution back to cylinder 1 firing position.
Insert all of your pins again, now the timing mark should be lined up in the groove on the first bearing cap again. We do it this way so we end up with all of our bolts loose, and ready to put the vanos in with the engine in its firing position as we can see all of the marks when we install everything.
OK, now you should be able to see the remaining 3 bolts on each of the helical gears. Loosen these off 3 turns.
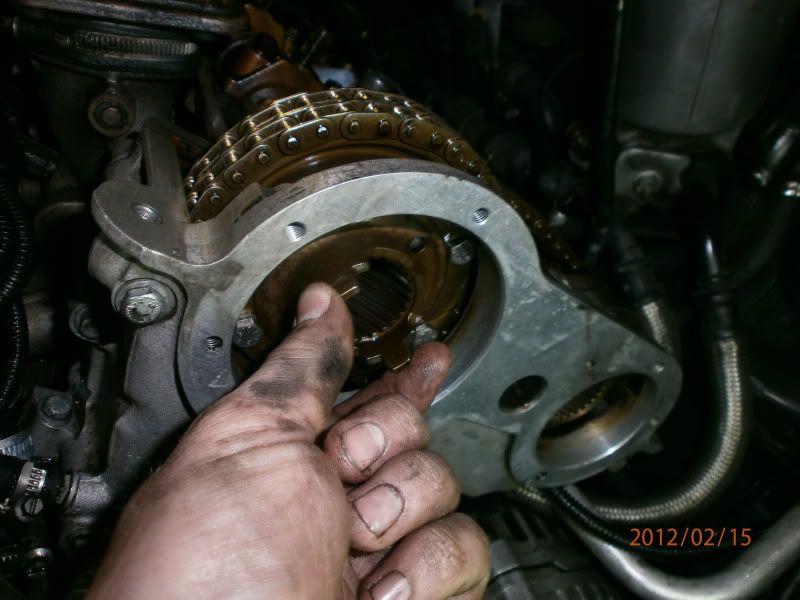
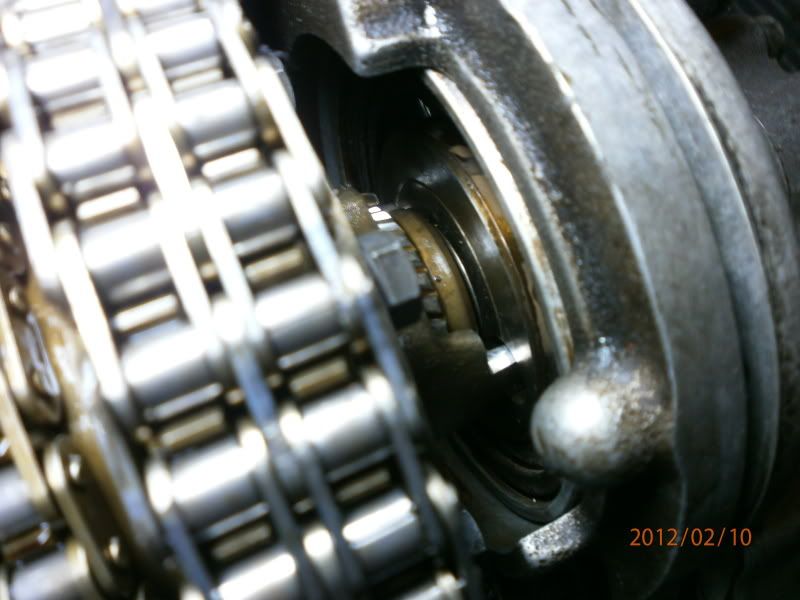
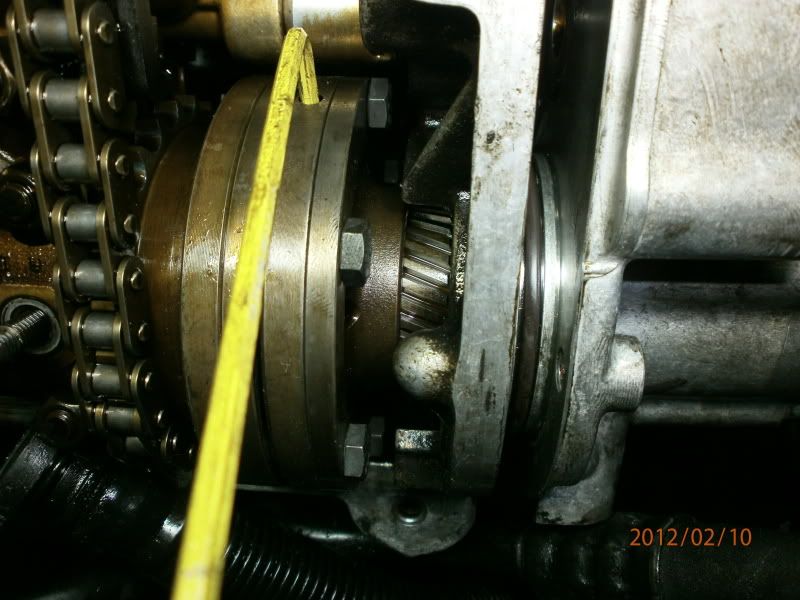
Now you should be able to move the helical gears with your fingers left and right.
You need to rotate these all the way clockwise to the stop
I have shown you here with the washer removed just so you can see what i mean
.
OK, now you are ready to install your vanos.
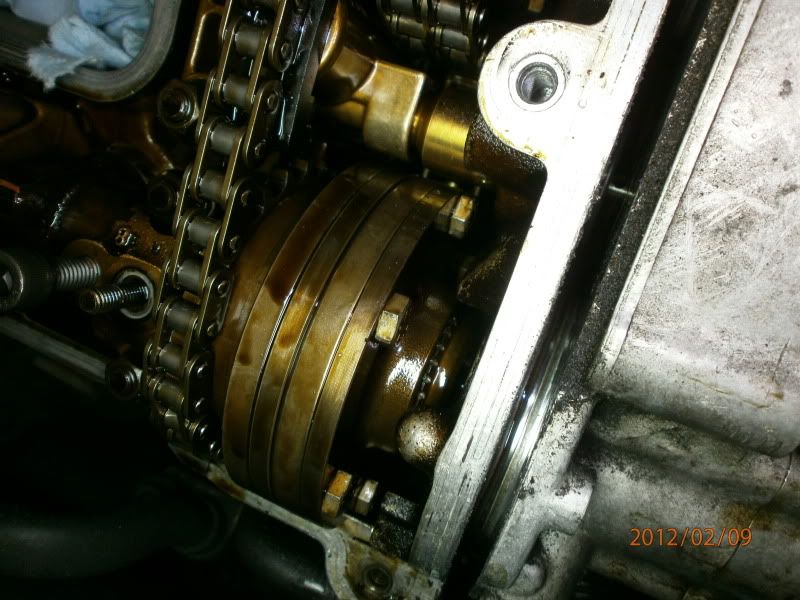
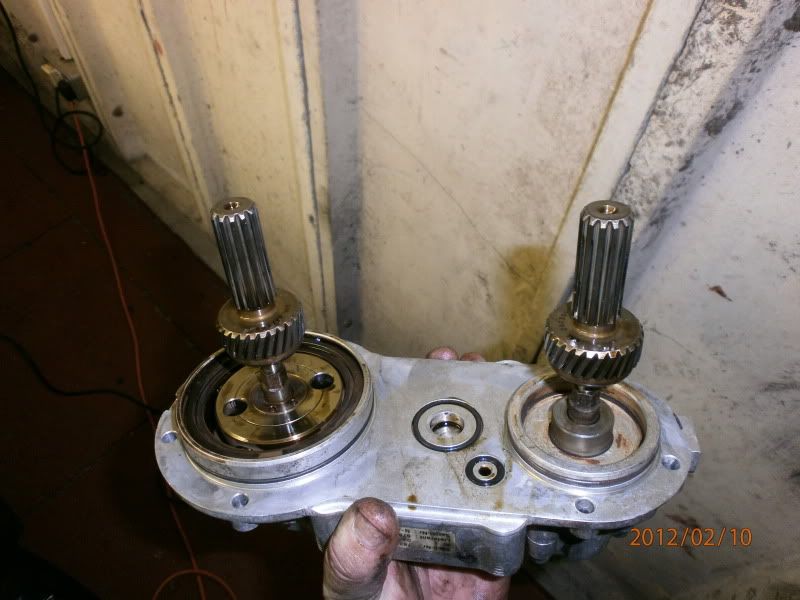
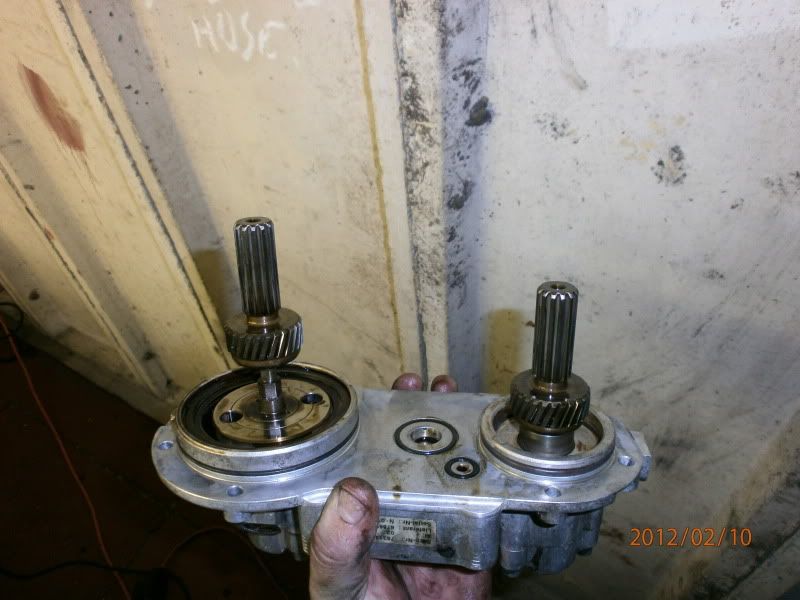
First your vanos pistons need to be in their initial position, which is pushed all of the way back into the vanos unit.
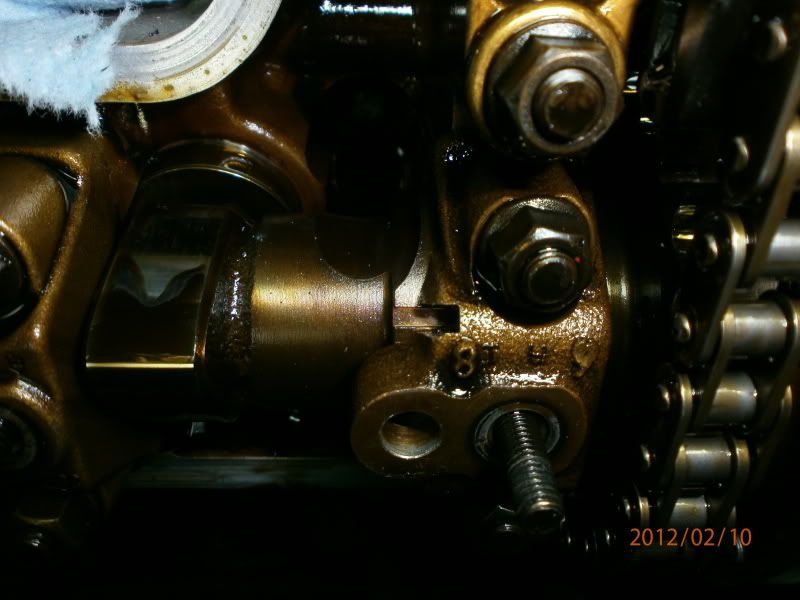
These are both out
This picture shows the right piston pushed back to initial position. You need to push both pistons down to this position
.
OK, with this done, offer the vanos up to the engine. Make sure the radial oil pump dimples in the vanos are lined up to the pump pegs on the inlet side of the helical gear hub. If you don't do this and start tightening the unit down you will damage it
.
Once they are lined up, gently push the vanos unit onto the engine until the helical gear on the vanos is just about to engage the helical gear on the hub
At this point the helical gears may not want to mesh into the hub as they are ever so slightly out of line. If this is the case, we need to rotate the splined hub counter clockwise (looking from the front of the engine) until it engages. Please note that you are only going to be a fraction of a tooth out, and it must engage in the first possible point it can. Don’t be tempted to think you can turn it a few teeth, this is wrong.
BMW have a special tool for this surprise surprise, but I found it simple enough with a 3mm Allen Key
If you apply gentle pressure to try and push the vanos unit on, whilst moving the splined hub gently counter clockwise you should feel it start to engage
Now do the same for the inlet cam
Once they are both in line and have just started to engage we can then push the vanos unit on until the 2 large O rings are just touching the timing cover, not all of the way home yet.
Now, run 2 of the vanos mounting bolts up finger tight, just to keep the unit there, not to push it home
Now, tighten the 3 visible hub screws on each cam to 10Nm, then slacken them off again about ¼ to ½ a turn.
Now install all of the vanos mounting bolts and tighten them down in ½ turn increments to make sure the unit is pulled in square.
Take out your Crank locking pin, but not the cam locking pins and rotate the engine AGAINST its direction of travel until you feel a noticeable resistance. Now rotate the engine back to TDC and insert your crank locking pin.
This is simply to compensate for play in the vanos and means that now you can set the timing correctly, kind of like how you would make sure the slack of your riming chain was on one side of the engine when timing up an old car.
Now, retighten the 3 bolts on each splined hub. Remove your crank pin and your cam locking pins/bolts and rotate the engine 1 full revolution to overlap TDC, and re insert your crank pin.
Now tighten up your remaining 3 bolts on each hub.
Again remove the pin and rotate the engine 1 full turn to firing TDC. Re insert your crank pin. Do not insert the cam locking pins.
Now, using your 27mm spanner, move the cams to their initial positions. This means that the vanos is in its initial position too, which if you remember means the pistons are fully into the vanos unit. Look at the position of the helical gear, it is just sticking out from the helical hub. In its initial position you can feel the whole assembly come to a hard stop, you cannot move it any more
check your timing marks. You should be spot on
OK, thats the process. You will simply repeat it for bank 2.
Good luck


")


