Hello all ye fellow M5 nut jobs,
Its been 6 months or so since I was first inspired by Steve Wright's (UK) and HartgeM5's (Atlanta) M5T build. I must have read their build threads about a dozen times now and at the same time slowly accumulating parts I need to build my own M5T. Props to them for their "innovation" and intrepidness. Its also been about 5 months since I sold my Euro E34 M5T and I cannot seem to get over it. I miss it quit a bit, but it was getting kinda old and the S38 was just lacking the power and torque, you can say I've been spoiled by the S62 & the S85. Around December of last year, my poor E39 M5 started making the infamous rod bearing tapping noise, so its been sitting in the driveway. About the same time and without really much effort, an opportunity to buy an identical M5 and a 540iT M Sport came about and I took advantage of it.
So now, I'm sitting on 2 E39 M5s and a 540iT M Sport (all are 2001s). I've been back and forth in my head for 3 months now asking myself if I really want this challenge. Part of me is utterly salivating at the new project, but another part of me is like..."that's a crap load of work dumba$$"!!! I've also been figuring out the best, easiest and most efficient way to go about the build, taking into consideration time, expense, limited amount of garage space and ultimately what will make me happy. I guess you can say I've been strategizing, planning and mapping out the build.
First, I finally made the decision, I'm going for it. Second, I'm not 100% sure if the Orient Blue 540iT will be the host candidate of the conversion. Its too dang nice to just take apart, and it looks like there aren't very many M Sport Tourings to begin with. So I'm kinda sorta almost found another Touring candidate, I'll know for sure in the next week or two. Third, I'm probably exposing myself too much to public critique by posting this build thread on the forum, but the forum is a great place to chronicle the build. I do welcome everybody's opinion, positive and negative, and at the same time this can prove to be educational for everybody's benefit.
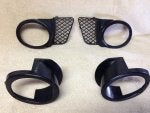
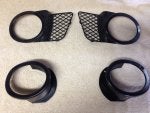
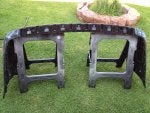
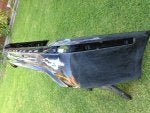
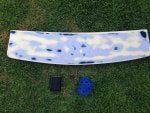
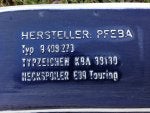
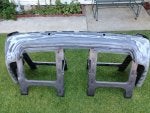
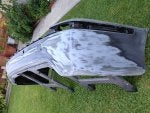
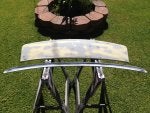
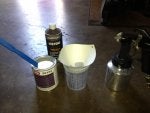
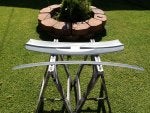
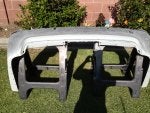
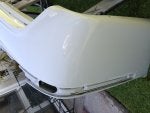
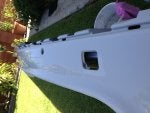
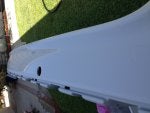
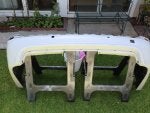
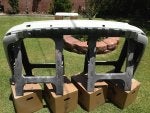
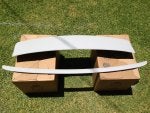
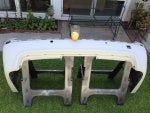
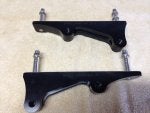
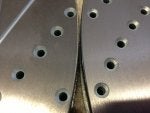
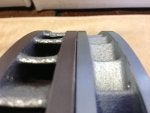
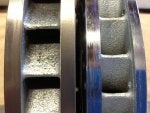
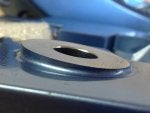
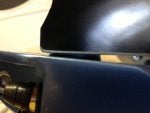
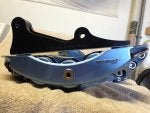
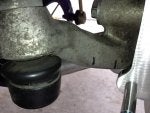
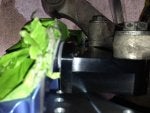
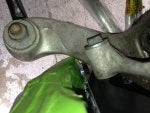
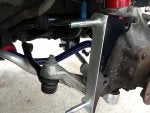
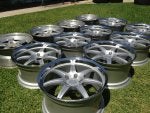
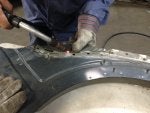
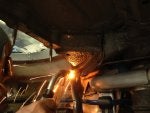
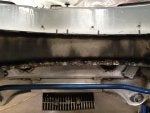
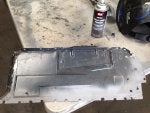
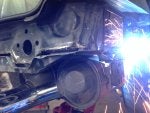
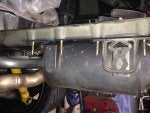
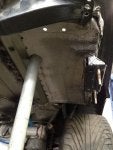
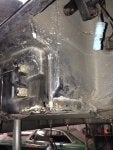
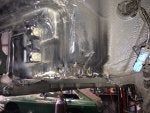
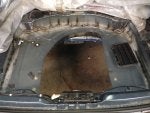
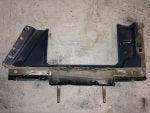
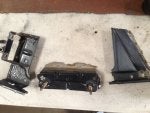
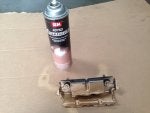
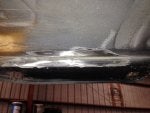
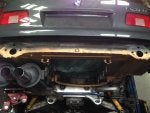
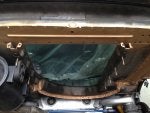
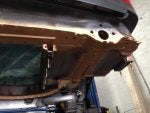
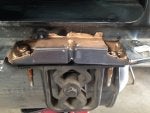
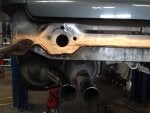
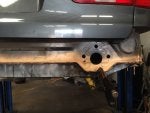
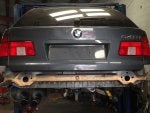
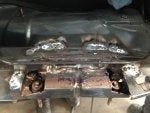
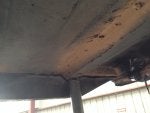
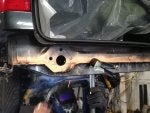
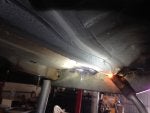
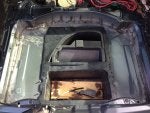
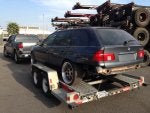
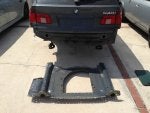
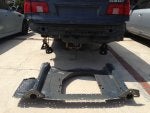
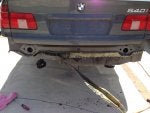
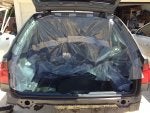
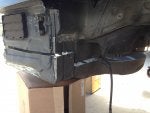
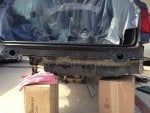
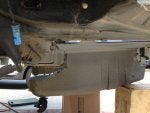
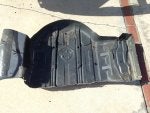
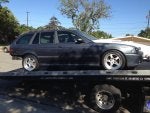
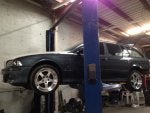
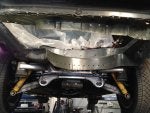
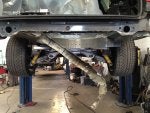
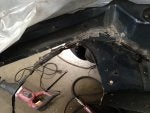
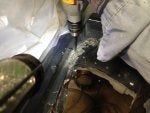
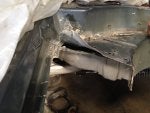
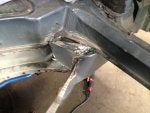
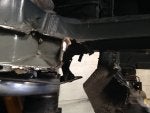
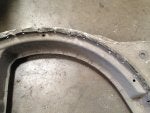
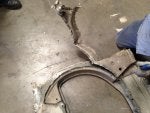
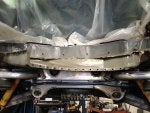
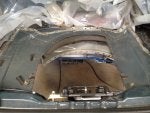
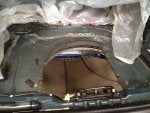
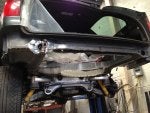
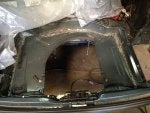
I have some teaser pics to begin with, see below. I've started the dismantling process and setting aside the best parts to do the build. I'll also be keeping all the upgrades that I had installed in the M5 that crapped out. Call me crazy, but this is probably another excuse I'm using to avoid changing out the rod bearings, which I will probably end up fixing anyways coz that engine has perfect compression readings and I'm not willing to just sell it for scraps.
Frequency of the updates with pics on this thread will depend on a lot of things, but I will try my best to update every couple of weeks.
BTW, I'm going to have tons of parts left over from this build so I will be selling them off on the forum in case you need parts.
Its been 6 months or so since I was first inspired by Steve Wright's (UK) and HartgeM5's (Atlanta) M5T build. I must have read their build threads about a dozen times now and at the same time slowly accumulating parts I need to build my own M5T. Props to them for their "innovation" and intrepidness. Its also been about 5 months since I sold my Euro E34 M5T and I cannot seem to get over it. I miss it quit a bit, but it was getting kinda old and the S38 was just lacking the power and torque, you can say I've been spoiled by the S62 & the S85. Around December of last year, my poor E39 M5 started making the infamous rod bearing tapping noise, so its been sitting in the driveway. About the same time and without really much effort, an opportunity to buy an identical M5 and a 540iT M Sport came about and I took advantage of it.
So now, I'm sitting on 2 E39 M5s and a 540iT M Sport (all are 2001s). I've been back and forth in my head for 3 months now asking myself if I really want this challenge. Part of me is utterly salivating at the new project, but another part of me is like..."that's a crap load of work dumba$$"!!! I've also been figuring out the best, easiest and most efficient way to go about the build, taking into consideration time, expense, limited amount of garage space and ultimately what will make me happy. I guess you can say I've been strategizing, planning and mapping out the build.
First, I finally made the decision, I'm going for it. Second, I'm not 100% sure if the Orient Blue 540iT will be the host candidate of the conversion. Its too dang nice to just take apart, and it looks like there aren't very many M Sport Tourings to begin with. So I'm kinda sorta almost found another Touring candidate, I'll know for sure in the next week or two. Third, I'm probably exposing myself too much to public critique by posting this build thread on the forum, but the forum is a great place to chronicle the build. I do welcome everybody's opinion, positive and negative, and at the same time this can prove to be educational for everybody's benefit.
I have some teaser pics to begin with, see below. I've started the dismantling process and setting aside the best parts to do the build. I'll also be keeping all the upgrades that I had installed in the M5 that crapped out. Call me crazy, but this is probably another excuse I'm using to avoid changing out the rod bearings, which I will probably end up fixing anyways coz that engine has perfect compression readings and I'm not willing to just sell it for scraps.
Frequency of the updates with pics on this thread will depend on a lot of things, but I will try my best to update every couple of weeks.
BTW, I'm going to have tons of parts left over from this build so I will be selling them off on the forum in case you need parts.


")