BMW M5 Forum and M6 Forums banner

Fixed leaking rear door vapor barriers (pics)

159K views 134 replies 53 participants last post by  John in VA  
#1 ·
Thanks to Lunker325 (Brian) for info on how to do this, I fixed my rear doors from the leaking water horror that some M5's suffer from. Very easy DIY. Mx5 is coming over next week to do some work on his car and mentioned he wanted to do this repair so I thought I would go ahead and get my car done so it will be easy to do his. We will be working against the clock on his car, so I wanted to do a trial run.

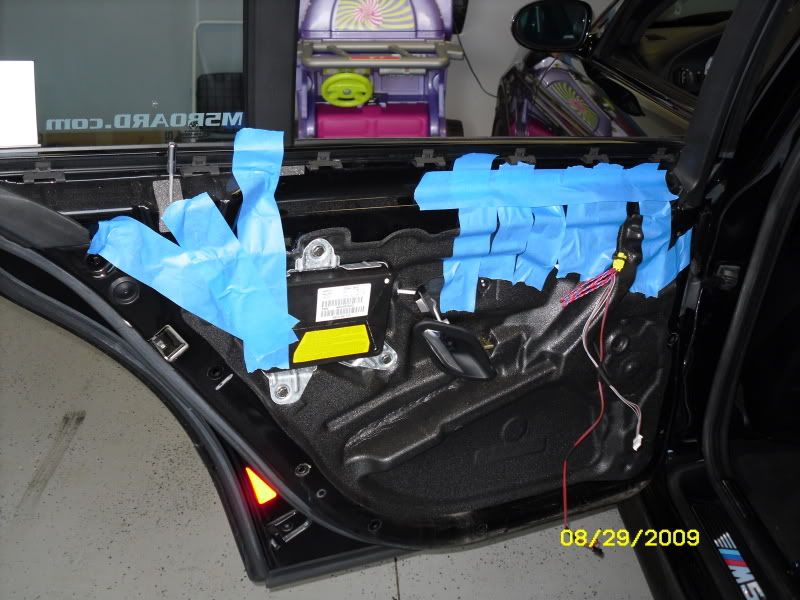
Remove door panel (One screw on door handle, the rest is just pop locks securing the door. Take out the window switch and the flood light and unplug them.

Clean up area around old seal

Use some silicone to create a new seal (I used 732)

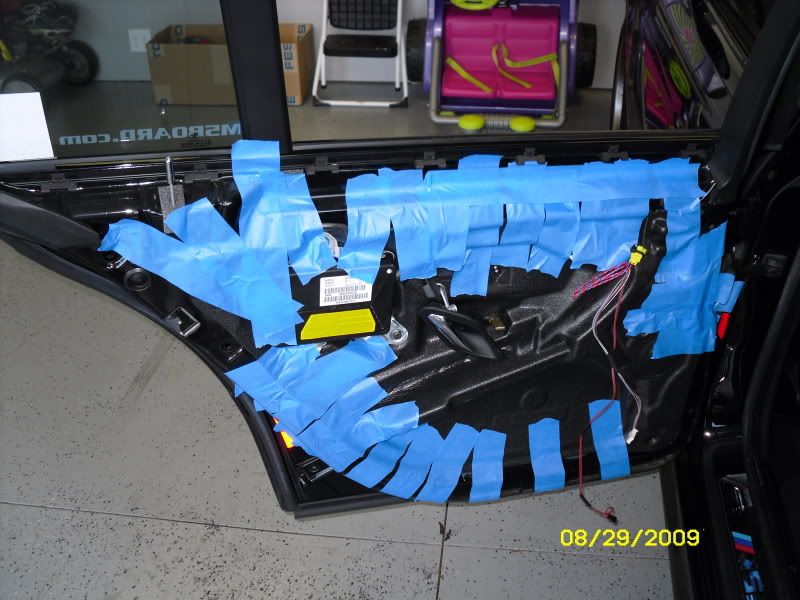
Tape up seal until it cures

Let car air out (I hate the smell of silicone)

Re-install door panel

Pics....

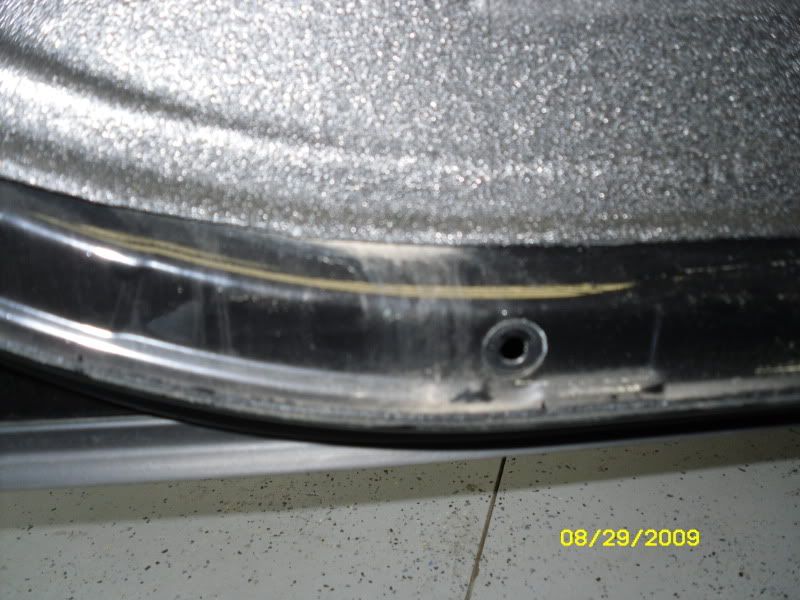
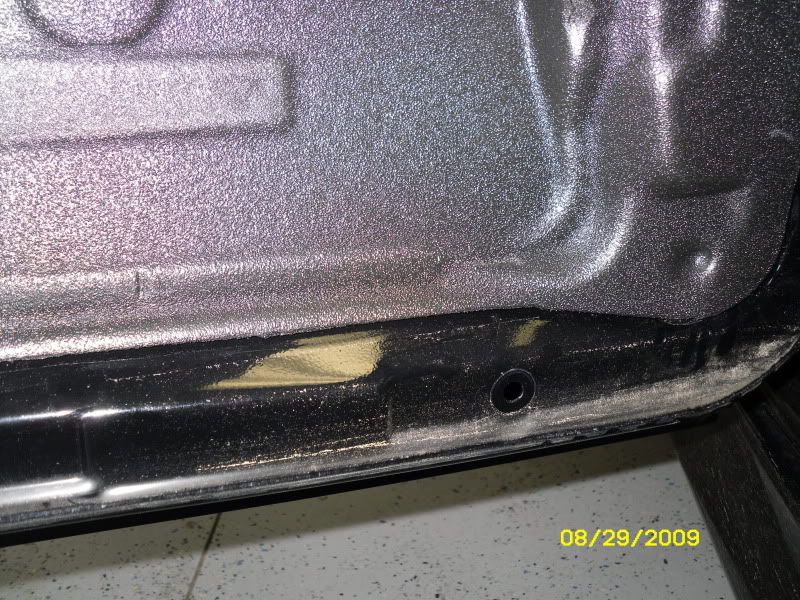
Visible water damage
Image


Image


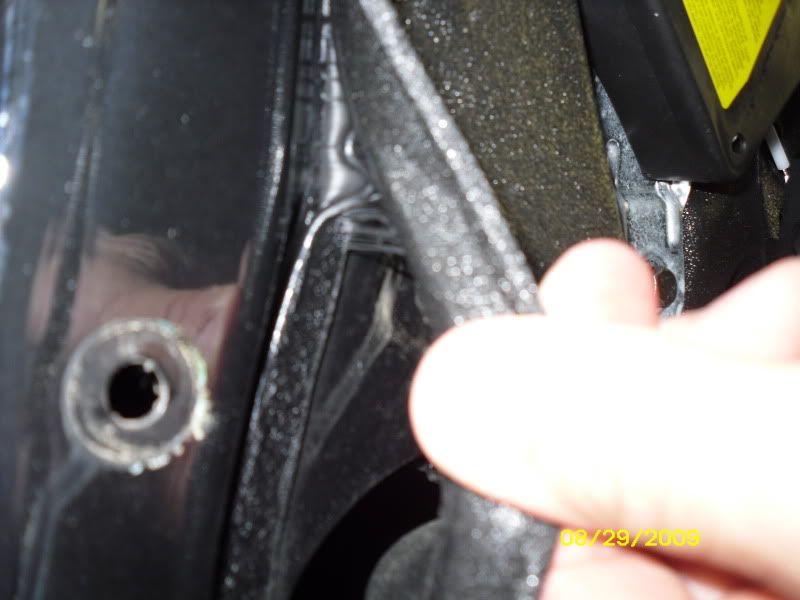
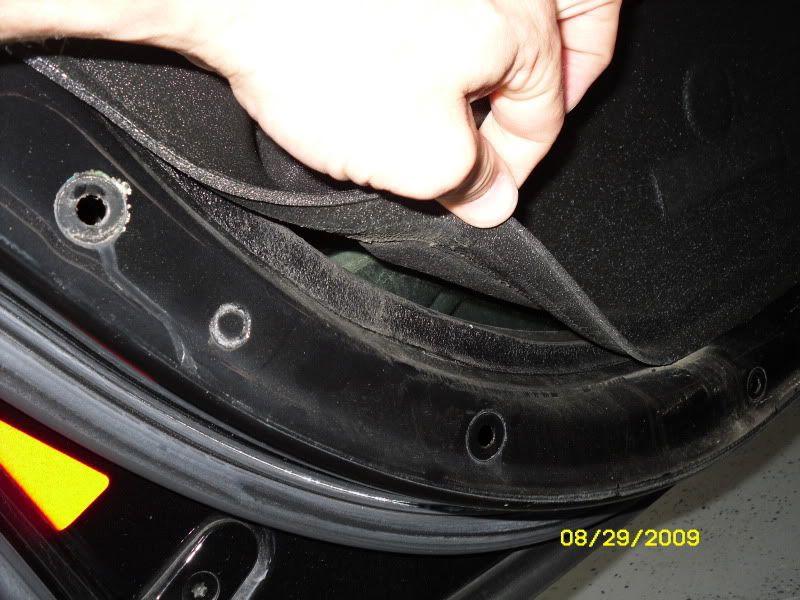
Old rubber seal

Image


Image


Image


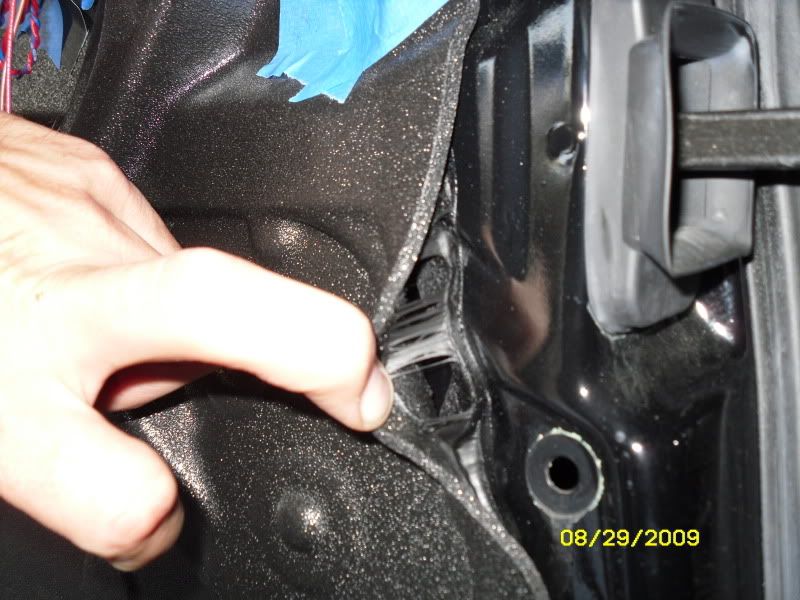
I love blue tape

Image


I know you are digging the power wheels in the background.....
Image
 
Discussion starter · #10 ·
I personally did not reuse the original stuff because in my eyes it will just fail again. I have every record from my car since it's in-service date, and no one has ever had that door apart. The previous owner was not a DIY guy, EVERYTHING was done att the dealership. 732 is just Industrial Loc Tite silicone that we use at work to fix just about anything that needs to be repaired in a water tight situation. IF I do ever need to get inside that door panel I will cross that bridge when I come to it. I would much rather have to deal with a PIA door repair if a regulator fails than have to worry about the original sealer failing again causing my door to leak again. I can pretty much garuantee this stuff will not leak.

Sometimes OEM isn't the best route to go.

But again, to each his own.....
 
Discussion starter · #14 ·
Huh, maybe my silicone fix is the right way to go? THE MAIN REASON I used 732 silicone is because this stuff will stick to ANYTHING, FOREVER. We use it for just about anything at work (dog food factory) and it seems to hold in any situation. I am confident my doors will not leak again. If I do have to get inside the door for any kind of repair, I know I can just buy a new vapor barrier, if needed, and silicone it again after scraping off the old stuff. But at least I know my door won't leak. Besides, how often do you see someone's rear window regulator failing?
 
Discussion starter · #20 · (Edited)
You're going to be hacking away at that silicone w/ a razorblade for some time when you go to cross that bridge.
Agreed, but at least I know FOR SURE that it will not leak again. As I stated before, how often do people need to go back into their doors for a repair OTHER than a leaky vapor barrier......

Again, to each their own, I just thought I would share MY way of fixing this issue for good, which is pretty dummy proof. No heat gun, no making sure it's perfectly set. Goop on some silicone, tape it up to cure, enjoy not having wet floorboards.

Oh, and my fix cost me nothing, I brought a bottle of 732 home from work. Not sure what the cost is at a store or if it is cheaper than a BMW part, but I would bet it is.
 
Discussion starter · #24 ·
PSA:

Just redid one rear door seal this weekend after it failed a month or two after the first repair (done by me). Some things learned:

1) when it comes to 3M window weld or other stick stuff, more is not better. I lathered it on, naively, and it probably made things worse and contributed to the failure.
2) use the 3M window weld that comes in tape form. I originally used the caulk gun one, and just didn't have enough experience to know how big a bead to put down (read #1).
3) use new vapor barriers. I know that many of you have reused the old vapor barriers, but given what I saw, new ones should be part and parcel of the repair. My old vapor barrier, which I cleaned very well last time, separated at the adhesive junction. The actual material of the barrier separated from itself, meaning that it was still stick (firmly) to the adhesive, but was still torn open and allowed water to leak through.

#3 caused major leakage again, and on top of that, made it 5x harder to repair. With a layer of this foam stuck to the adhesive stuck to the door, it was near impossible to remove. 50F weather in Boston did not help. I tried using the "ball it up, stick to itself" method to no avail. In the end, it was just elbow grease, and lots of it, that got me a clean strip of metal all the way around to lay a new bead down.

Hopefully, this helps someone down the line. I don't think it contradicts what others have suggested in terms of repair procedures. The old vapor barrier material separating was a huge pain in the rear. For <$40 a barrier, I'd just get new ones. God knows there are more expensive parts on this car.

FWIW, the new barrier is light grey in color, and fits pretty well, except on the trailing edge of the door, at the top, there is an indentation that is just in the wrong place. I inverted it and everything went fine.

Mark
I rest my case...... my silicone repair > new vapor barriers....... I still have no leaks.......
 
Discussion starter · #48 ·
Thanks for the replies. I will speak with my Indy. Where exactly is the water coming in from? From the window seals? From the door jams? I guess I really don't understand where the water is coming from to explain it properly. Thank you.

Edit. Just read the enitre thread and now better understand the issue at hand. It appears the water should flow to the drainage holes and the vapor barriers should block the water from going into the door, but the barriers have failed and the water is going into the door and leaking out the bottom ruining the door seals and soaking the interior. Is this correct? Thanks.
[Rant] No offense, but it DRIVES ME CRAZY when people don't read the thread before posting. People like me take a lot of extra time on a job to take pictures and do a right up, just to have people skip over stuff and start asking questions. Please don't think this post is to chew you out, it's not, you did your own homework and edited your post. Thank you. This post HOPEFULLY will be read by others, and they will read EVERY POST in a thread topic before asking an obvious question that has already been explained!! [/rant]

Now go fix those barriers!!
 
Discussion starter · #51 ·
I'm not offended but I don't think your post was necessary. I don't really give a sh&* what you post. I should have read the entire thread but I was trying to get out of the house to go to work and I wanted to know what to say to my Indy. Either way, thanks for information.

Not necessary for YOU, but very necessary for the MANY MANY people on this board who post a new thread before either SEARCHING or READING a thread. I'm glad you don't give a sh&* what I post, I will ignore all of your questions/posts from here out..... J/K. Ease up yo....
 
Discussion starter · #53 ·
I didn't mean it that way. That's the problem with the internet. What I was trying to say is that you are entitled to your opinion and to write what you want. No biggie. As I said, I don't think it was a necessary post but it's not that big of a deal. Let's move on bro.......

On a side note, going to swing by the Indy on Friday and remove the door panel and take a look. It's not going to cost me anything as they owe me some labor for part I sold them from a track car. I'll probably order some barriers so we can just get it done while the panels are off.
If the barriers are the way you want to go, that's your opinion, but from reading this thread, you can tell I disagree. Replacing a faulty part with the same faulty part is a mistake in my eyes. My method is an "upgrade" in my eyes....

Either way, I hope you get it fixed, and the interior of your Beast stays nice and dry!!
 
Discussion starter · #75 ·
It amazes me why people are so reluctant to use silicone when MANY people on here have admitted that other solutions do not work. I have had ZERO issue with mine since the repair.......
 
Discussion starter · #77 ·
Dow Corning 732 is what I used. You may want to try and locate some through Grainger or MSC.

Here is a link to some I found through Google....

Dow Corning 732 Multi-Purpose Sealant - Dow Corning - SEALANT


The reason I used 732 is simply because it is what we use at work to seal pretty much anything. Through my experience it works in very harsh conditions so I figured it would work well for this.
 
Discussion starter · #88 · (Edited)
Seriously? Good Lord......

BMW called it a VAPOR BARRIER for a reason, not sound deadner.

Vapor - a substance in the gas phase at a temperature lower than its critical point This means that the vapor can be condensed to a liquid or to a solid by increasing its pressure without reducing the temperature.

Barrier - A barrier or barricade is a physical structure which blocks or impedes something<WBR>.

It is there to block moisture from entering the car. Go ahead and remove that vapor barrier and see what happens to your door card and floor.

Of course the water is suppose to drain through the weep holes in the bottom of the door. How does the water GET to the bottom of the door? IT RUNS DOWN THE VAPOR BARRIER. If the vapor barrier is loose or not fully sealed, the water will run into the car and on to your floor.

It really amazes me that after DOZENS of people have reported fixing the issue by sealing the vapor barrier you are questioning this method.

I seriously can not believe I just had to type that......
 
Discussion starter · #90 ·
*facepalm*

It is sealed. That is how it channels water down the exterior side of the door. If there are no openings for the water to run into/on the cabin side of the door/barrier, then it will continue down the exterior side of the door/barrier until it reaches the bottom of the door.

How would you attach it if it where inside the door? How could you get to the window regulator if it was sealed form the inside? How would you reattach it once you removed it? I am not a BMW engineer, but the way it is designed and functions makes perfect sense to me. My weep holes WHERE clear when I was having my issue. I repaired my vapor barrier, as shown, and the problem went away......