

Thanks to Lunker325 (Brian) for info on how to do this, I fixed my rear doors from the leaking water horror that some M5's suffer from. Very easy DIY. Mx5 is coming over next week to do some work on his car and mentioned he wanted to do this repair so I thought I would go ahead and get my car done so it will be easy to do his. We will be working against the clock on his car, so I wanted to do a trial run.
Remove door panel (One screw on door handle, the rest is just pop locks securing the door. Take out the window switch and the flood light and unplug them.
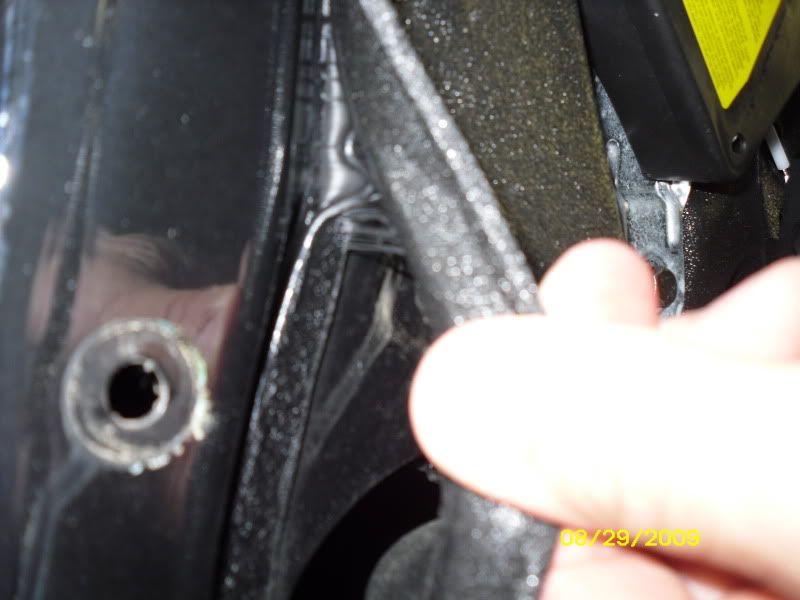
Clean up area around old seal
Use some silicone to create a new seal (I used 732)
Tape up seal until it cures
Let car air out (I hate the smell of silicone)
Re-install door panel
Pics....
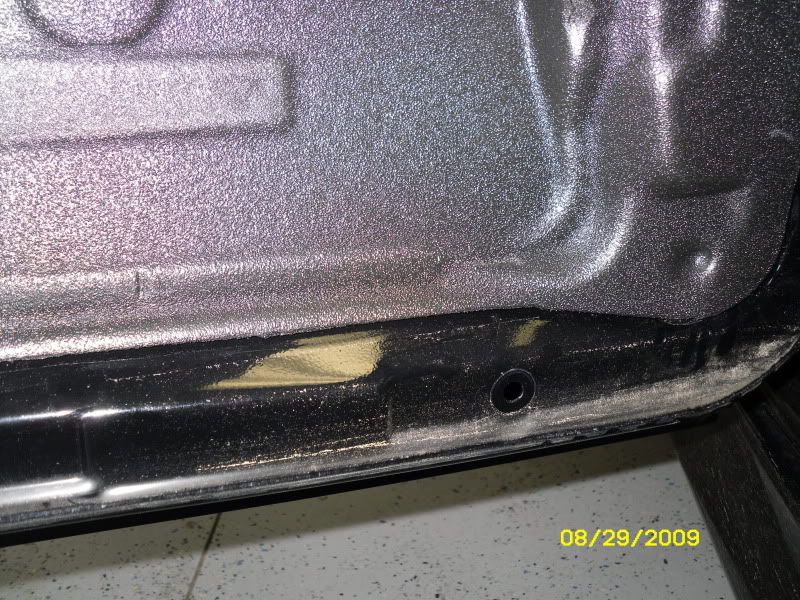
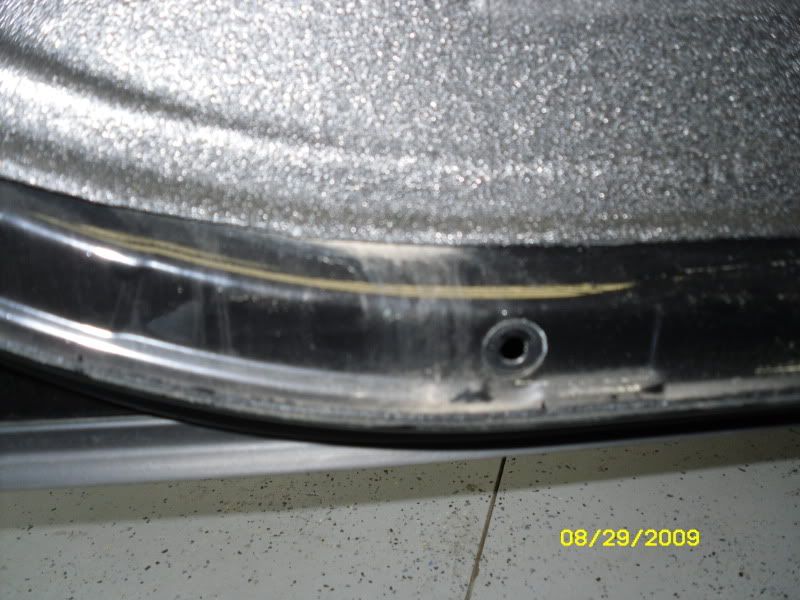
Visible water damage
![Image]()
![Image]()
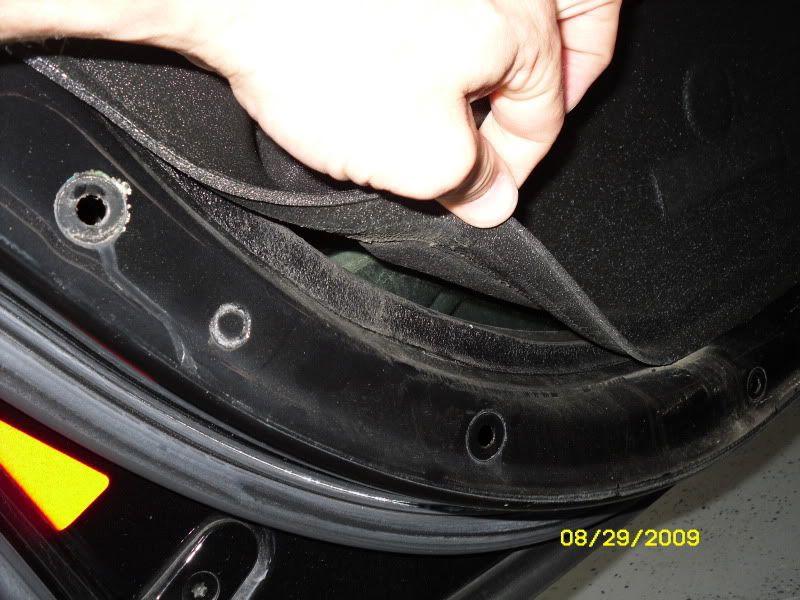
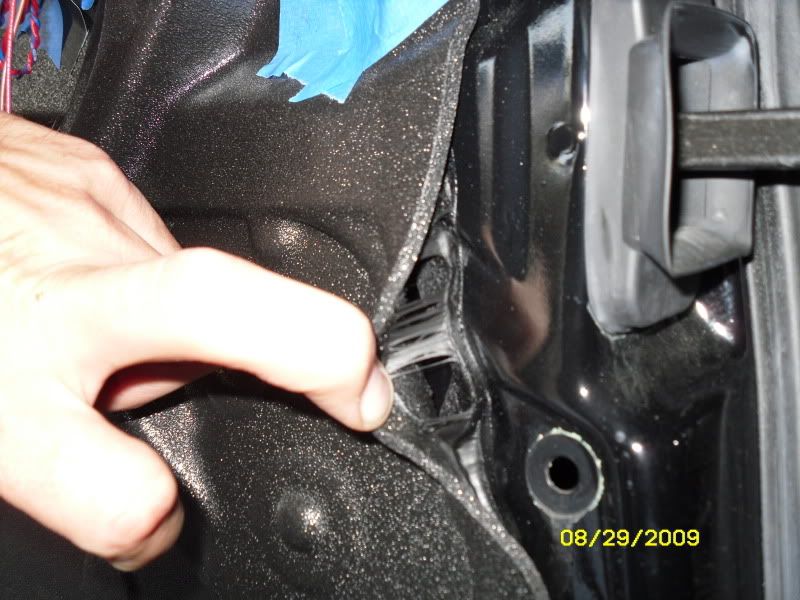
Old rubber seal
![Image]()
![Image]()
![Image]()
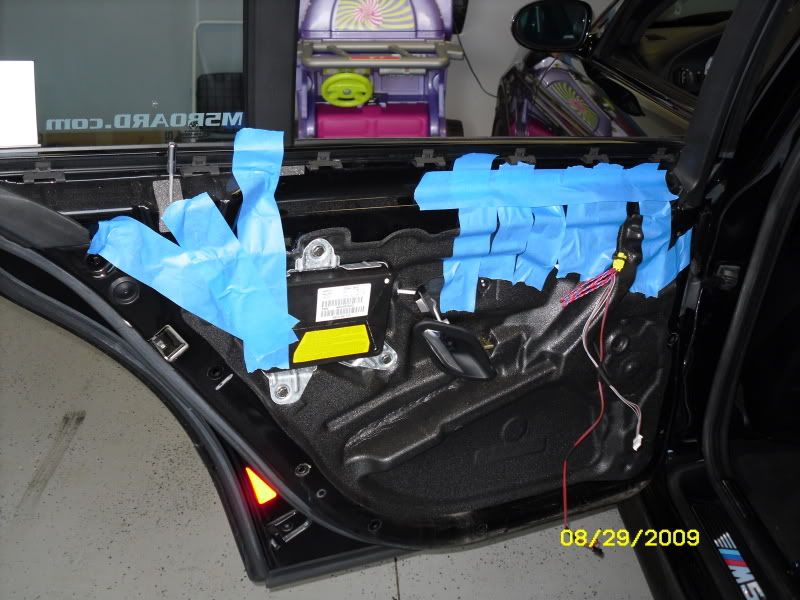
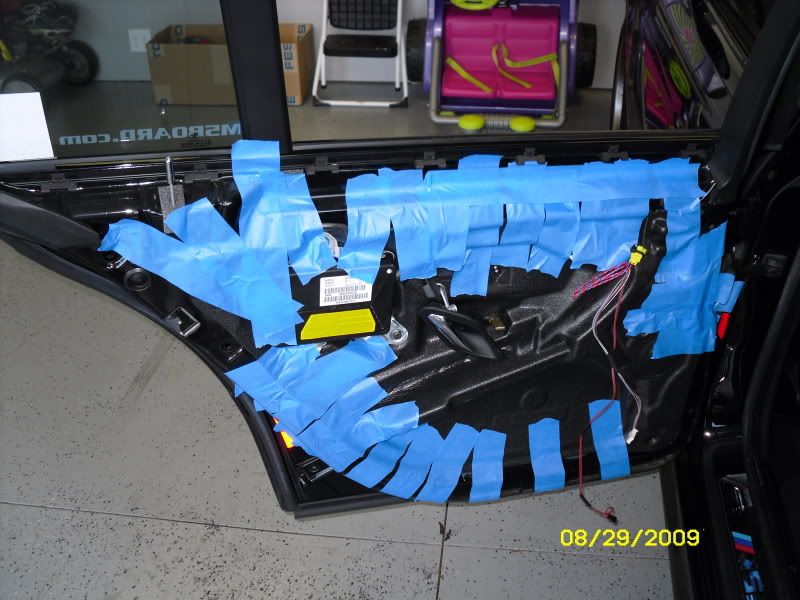
I love blue tape
![Image]()
I know you are digging the power wheels in the background.....
![Image]()
Remove door panel (One screw on door handle, the rest is just pop locks securing the door. Take out the window switch and the flood light and unplug them.
Clean up area around old seal
Use some silicone to create a new seal (I used 732)
Tape up seal until it cures
Let car air out (I hate the smell of silicone)
Re-install door panel
Pics....
Visible water damage
Old rubber seal
I love blue tape
I know you are digging the power wheels in the background.....
 . Sucked out the water today, going to go at it again tomorrow, and will look to see if there is a better way to make the seal.

