BMW M5 Forum and M6 Forums banner

Is there a DIY Fuel Injector Thread somewhere?

1 reading
11K views 21 replies 9 participants last post by  UkraineE39  
#1 ·
Hey all, just doing some maintenance upgrades, and while I have the engine open a little a) thermostat (arrrgh forgot to order new copper rings for the vanos SS tube), b) spark plugs, figured I would try and put my new injectors in while I am at it.

I have searched "fuel injector" and read a few threads, but I cant seem to find a DIY thread....any help, or know how as how to get to the rails etc.....

and yes I am a noob, but how in the world do you get the plenum cap off, once you removed all the small 10mm bolts. Do I need to remove some hose clamps or something

thanks
 
#2 ·
I did mine and can give you the basics.

First, remove the 10,000 nuts and bolts holding things in place. Remove the top of the intake manifold cover. Then remove the 8 trumpets(I labeled mine with a Sharpie so I knew the order to re-install them). Next, the bottom half of the intake manifold which is bolted to the throttle bodies. You will have to loosen 4 clamps which are below the two big air intake holes: the Idle Control Valve, the hoses for the crankcase oil vents, and the oil return line. If you try to lift the intake manifold, you can see the hoses stretch a little and know what you have to loosen.

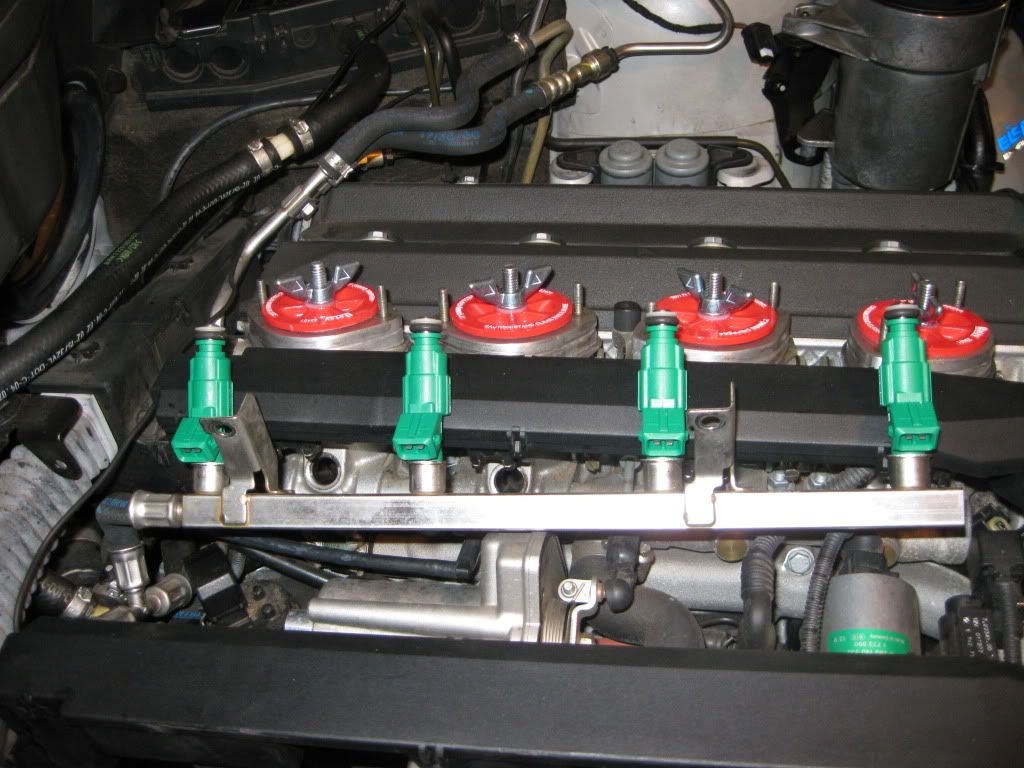
Next you have to unclip the electrical connections to the injectors. It's been awhile but I'm thinking this is where there is a pesky little clip that I had to use a dental explorer to tease the clips off. Then remove the bolts holding the fuel rail in place and pull up on the rail. The 4 injectors should come out with the rail. Undo the clips holding the injectors to the rail. Remove injectors, install new injectors to rail with clips. I slightly lubed the rubber o-rings with silicone grease at both ends first to help them slide back into their respective places. Line things up and re-install fuel rail. Then make sure you properly re-install each electrical connector with a "click" to each fuel injector. It sucks to have to go back in once everything is buttoned back up, ask me how I know.

Go backwards from here, intake manifold bottom, tighten clamps, 10,000 nuts and bolts, etc.

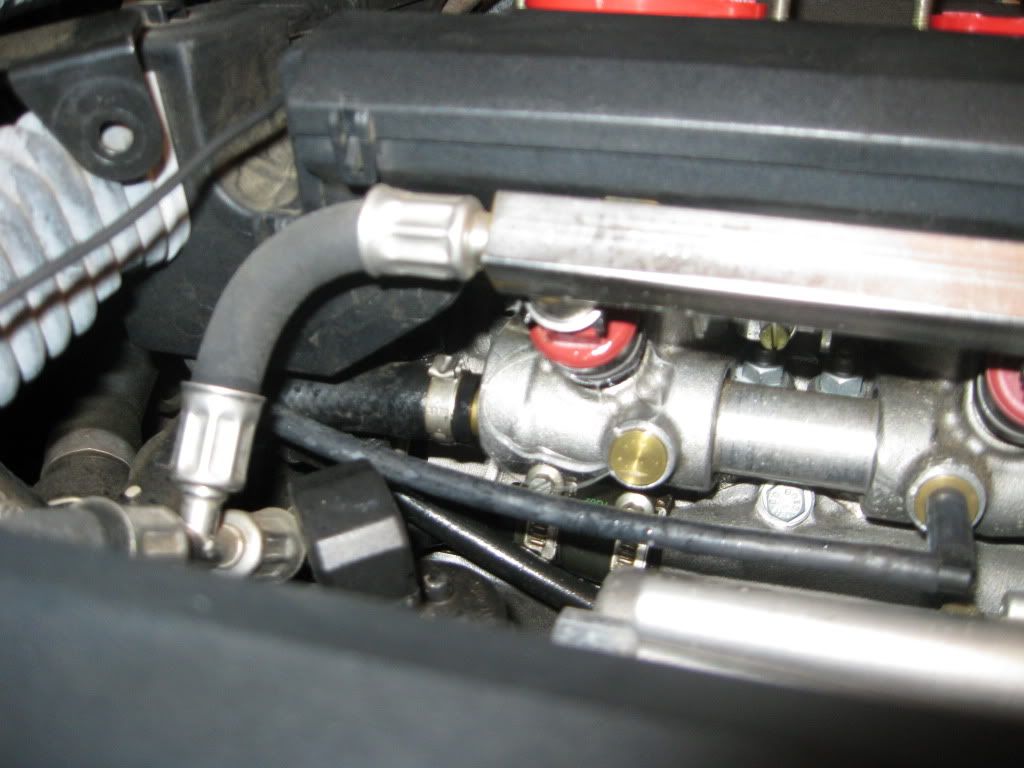
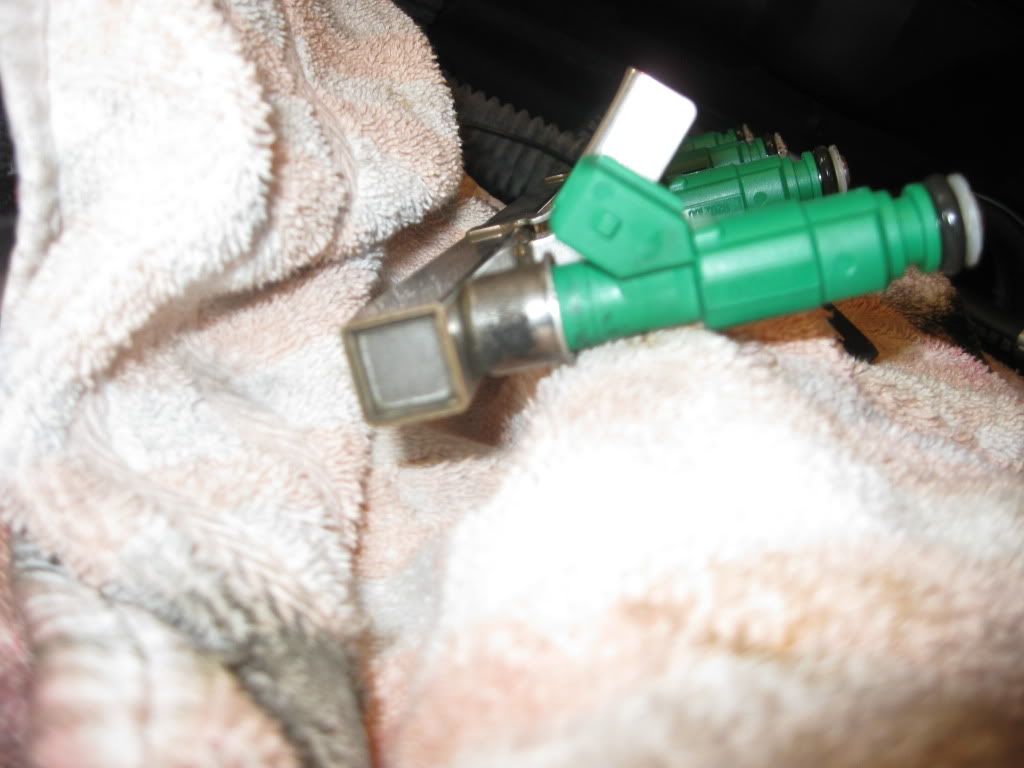
I didn't take too many pics. Here is part of what you'll see, fuel rail on injector:
Image


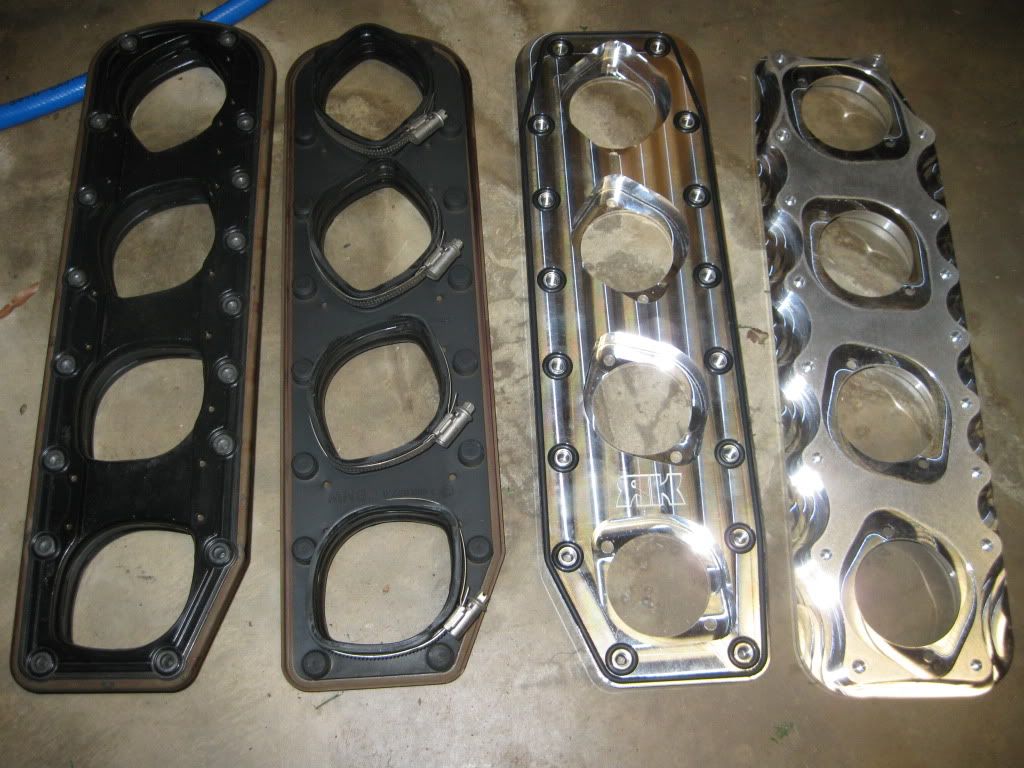
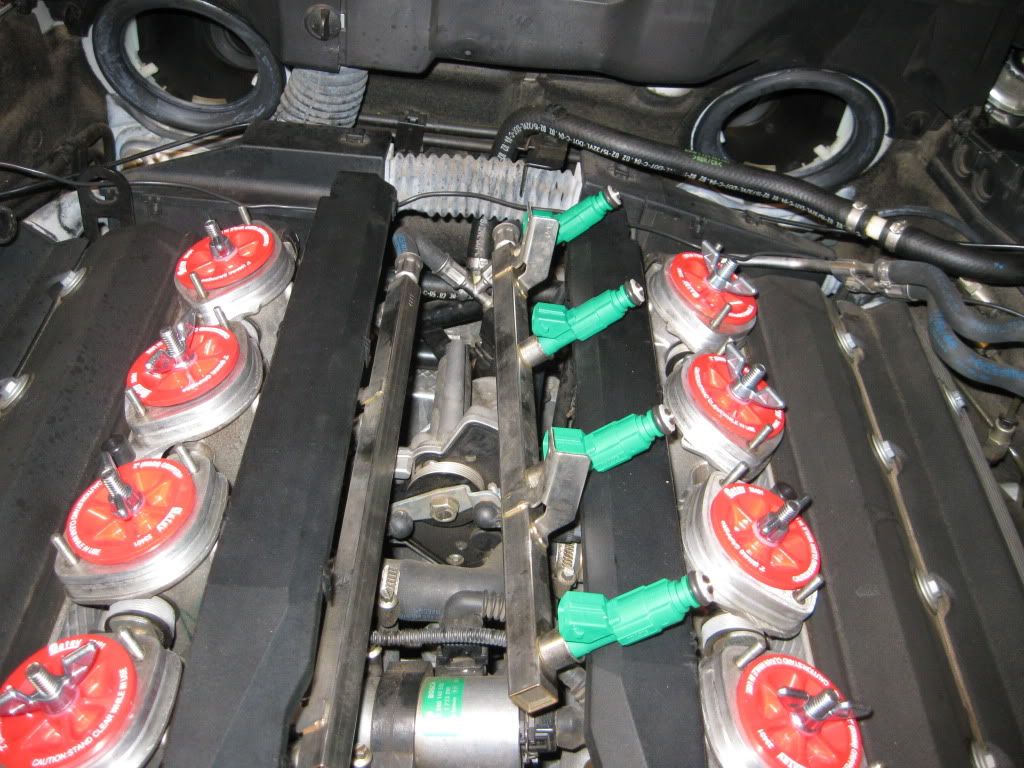
Mine will look a little different because I was also installing RK plenum plates at the same time:
Image


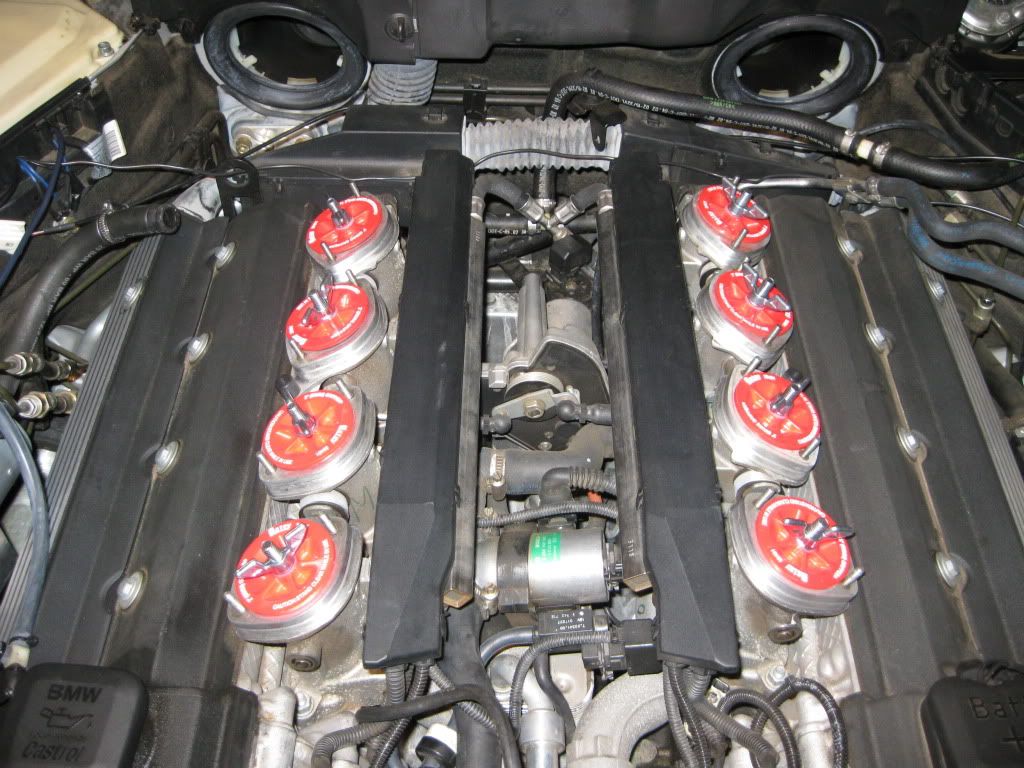
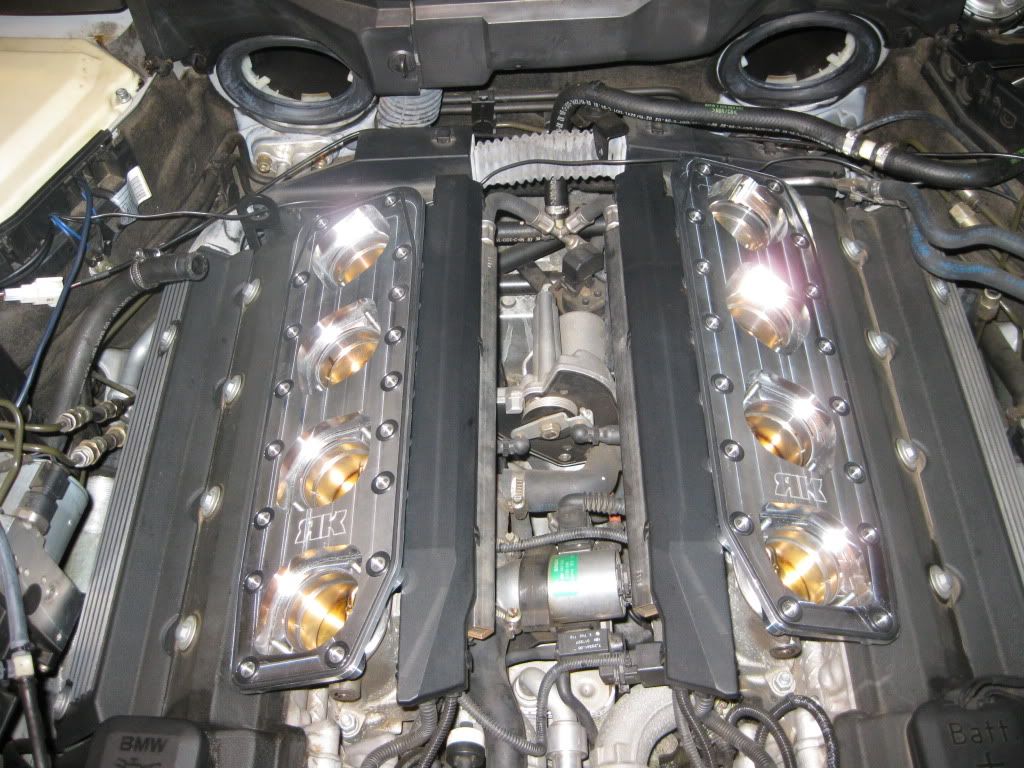
And my throttle bodies were plugged up because I was also doing some boost leak testing:
Image


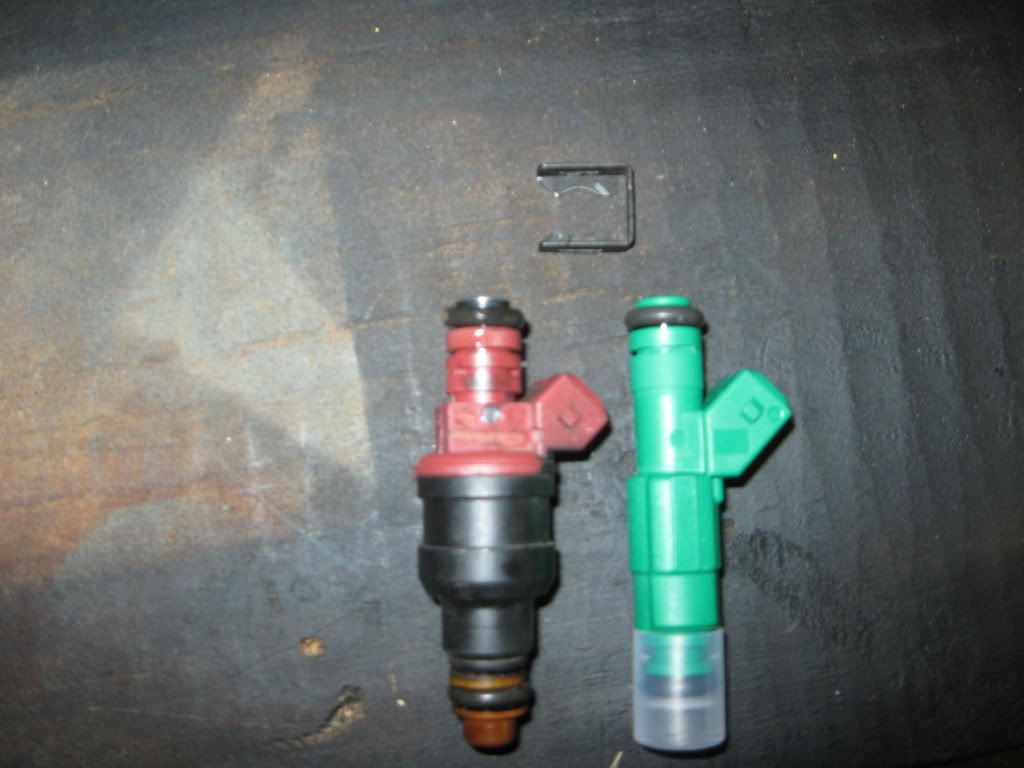
And I was replacing the ESS supplied injectors with Bosch green tops, this is the clip that holds the injector to fuel rail:
Image


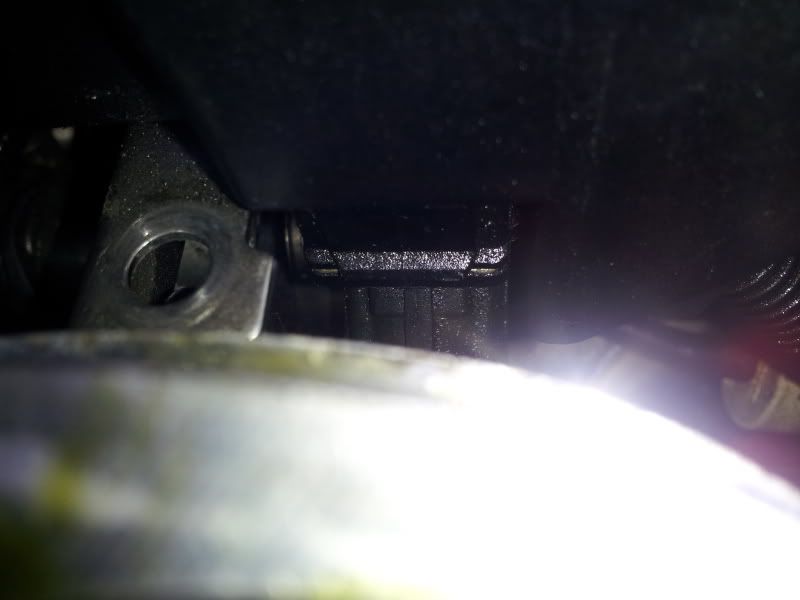
Here are a few more pics:
Image

Image

Image


It's a beautiful sight
Image


Good luck!
 
  • Like
Reactions: kotje and 68FB
#4 ·
nicely done.

nicely done.
what is difference between the other gaskets? say the two straight pieces.
Do you mean the plenum plates? On a naturally aspirated car, I believe there is little if any positive pressure in the intake manifold because the engine is sucking in air. So there is no chance of leaking around the stock plenum gaskets. In a supercharged car, we may have 6-10+ PSI depending on the kit, and there is a chance the plenum gaskets may leak with this much positive pressure. The plates help eliminate boost leaks. Sorry if this is not what you were asking about.
 
#6 ·
#10 ·
I used a pigtail dental explorer to remove them.
 
#11 ·
  • Like
Reactions: BloodRedM5
#12 · (Edited)
Thanks, figured that out finally lol_ took forever to realize that you pick it-then slide it back slightly

then of course after spending all day getting the passenger side clips off, upping putting the rail back all the clips pops off into oblivion.

Tips to self put down a towel lol.

Tip to others, there is a little fuel that spills out of each injector when you take them off, so have some towels ready.

And really THANKS FOR THAT THREAD LINK,

I used the search, but typed "fuel injectors" versus just injectors so that thread never came up.
 
#14 ·
#17 ·
Ok the injector it self, there is one o-ring on the top and 2 o-rings on the bottom? from the picture it looks like there are 2 o-rings on the bottom part? Can somebody confirm? Also the o-rings for the bottom part are really expensive, (13647830611) $12.00 Each. Do I need to change these or can I reuse my old ones?
 
#19 ·
One on the top and one on the bottom. They are different sizes.

These are standard bosch injectors, you can get new o-rings from any injector cleaning place, or even try e-bay, for much cheaper.
 
#21 · (Edited)
norcal

also if you are doing this, I would recommend getting your injectors cleaned, one of the members has a site, that he does the service for pretty cheap, I have the link pm if need be, the original thread is dead for some reason. maybe the site owners killed it for some reason.

http://www.m5board.com/vbulletin/e3...iscussion/213875-i-can-clean-your-fuel-injectors-just-pay-shipping-fluid-6.html

this is the new site

http://mepeh.com/

he replaces all the orings, as part of the service, worked great for me.

and that dental tool, works great, you can get a few of them from the $1 store, they break easily, Also I needed to buy a few extra leads off ebay, as I kept losing those darn small metal clips on the injectors. The injector closest to the firewall is very hard to get the tool in at the correct angle. I lost like three of those darn metal clips lol
 
#20 ·
Hi - I had same thoughts when did mine - checkout my DIY in the DIY section.

I replaced lower seals with 3rd party viton ones - spec in DIY. 15p each iirc compared with ÂŁ12 each in UK!

According to realoem earlier cars have different injectors with 2 seals the same. Realistically I could have reused all my seals, even with 130k on them.

Simon
 
#22 · (Edited)
First off, Thanks for the info everyone! I just had my injectors cleaned ultrasonically , and the basket filters were replaced also. Just wanted to share some Photos of the before/after results, I am going to be putting them back in soon and will report back of the results. BTW I had it done for $120.00

<a href="http://s31.photobucket.com/user/DRFT240mayfield/media/IMG_4668_zps01841c8d.jpg.html" target="_blank"><img src="http://i31.photobucket.com/albums/c351/DRFT240mayfield/IMG_4668_zps01841c8d.jpg" border="0" alt=" photo IMG_4668_zps01841c8d.jpg"/></a>
<a href="http://s31.photobucket.com/user/DRFT240mayfield/media/IMG_4773_zps21380c20.jpg.html" target="_blank"><img src="http://i31.photobucket.com/albums/c351/DRFT240mayfield/IMG_4773_zps21380c20.jpg" border="0" alt=" photo IMG_4773_zps21380c20.jpg"/></a>
Also cleaned the throttle bodies again.
<a href="http://s31.photobucket.com/user/DRFT240mayfield/media/IMG_4678_zpsfc116696.jpg.html" target="_blank"><img src="http://i31.photobucket.com/albums/c351/DRFT240mayfield/IMG_4678_zpsfc116696.jpg" border="0" alt=" photo IMG_4678_zpsfc116696.jpg"/></a>

Also cleaned up the side of the engine with brake cleaner.
<a href="http://s31.photobucket.com/user/DRFT240mayfield/media/IMG_4674_zpse3b67a38.jpg.html" target="_blank"><img src="http://i31.photobucket.com/albums/c351/DRFT240mayfield/IMG_4674_zpse3b67a38.jpg" border="0" alt=" photo IMG_4674_zpse3b67a38.jpg"/></a>
<a href="http://s31.photobucket.com/user/DRFT240mayfield/media/IMG_4676_zpscbd75c2c.jpg.html" target="_blank"><img src="http://i31.photobucket.com/albums/c351/DRFT240mayfield/IMG_4676_zpscbd75c2c.jpg" border="0" alt=" photo IMG_4676_zpscbd75c2c.jpg"/></a>
<a href="http://s31.photobucket.com/user/DRFT240mayfield/media/IMG_4615_zps5539f57b.jpg.html" target="_blank"><img src="http://i31.photobucket.com/albums/c351/DRFT240mayfield/IMG_4615_zps5539f57b.jpg" border="0" alt=" photo IMG_4615_zps5539f57b.jpg"/></a>